Sometimes I get to feeling down about my garden, like last summer during the Apocalypse when I was known to come in from tending the ash-covered garden cussin’ the whole thing, “Fuck that stupid garden!”
To be clear though, it’s never really the garden that bums me out, because green growing things are joy. It’s the goddam pests. Fucking pesticles. Yeah, I said pesticles. It’s a winner, go ahead, try it out! It’s as much fun to say as it is to hear! Pesticles is my new addition to the gardening glossary. I wish I could claim credit, but it was my partner’s crafty (dirty?) mind that gave me that verbal gold nugget.
The urban dictionary has some choice definitions involving sweaty man-parts, but I’m hijacking it for legitimate gardening purposes: a disparaging expletive in the sexually explicit tradition of “fuckers” and “assholes”, that refers specifically to garden pests: any of the animal, bacterial, viral, or fungal wankers that are fucking up my happy place.
Over the years, I’ve had a several different kinds of pesticles wreaking havoc, but last summer was the perfect storm of shitbags. I had Japanese Beetles, grasshoppers, cucumber beetles, earwigs, caterpillars, squirrels, aphids, slugs, whiteflies, spider mites, and powdery fucking mildew. I probably missed some – oh yeah, like the moth invasion! It was the stuff of nightmares.
This summer, I’m adding to the pesticle list with flea beetles and downy mildew.
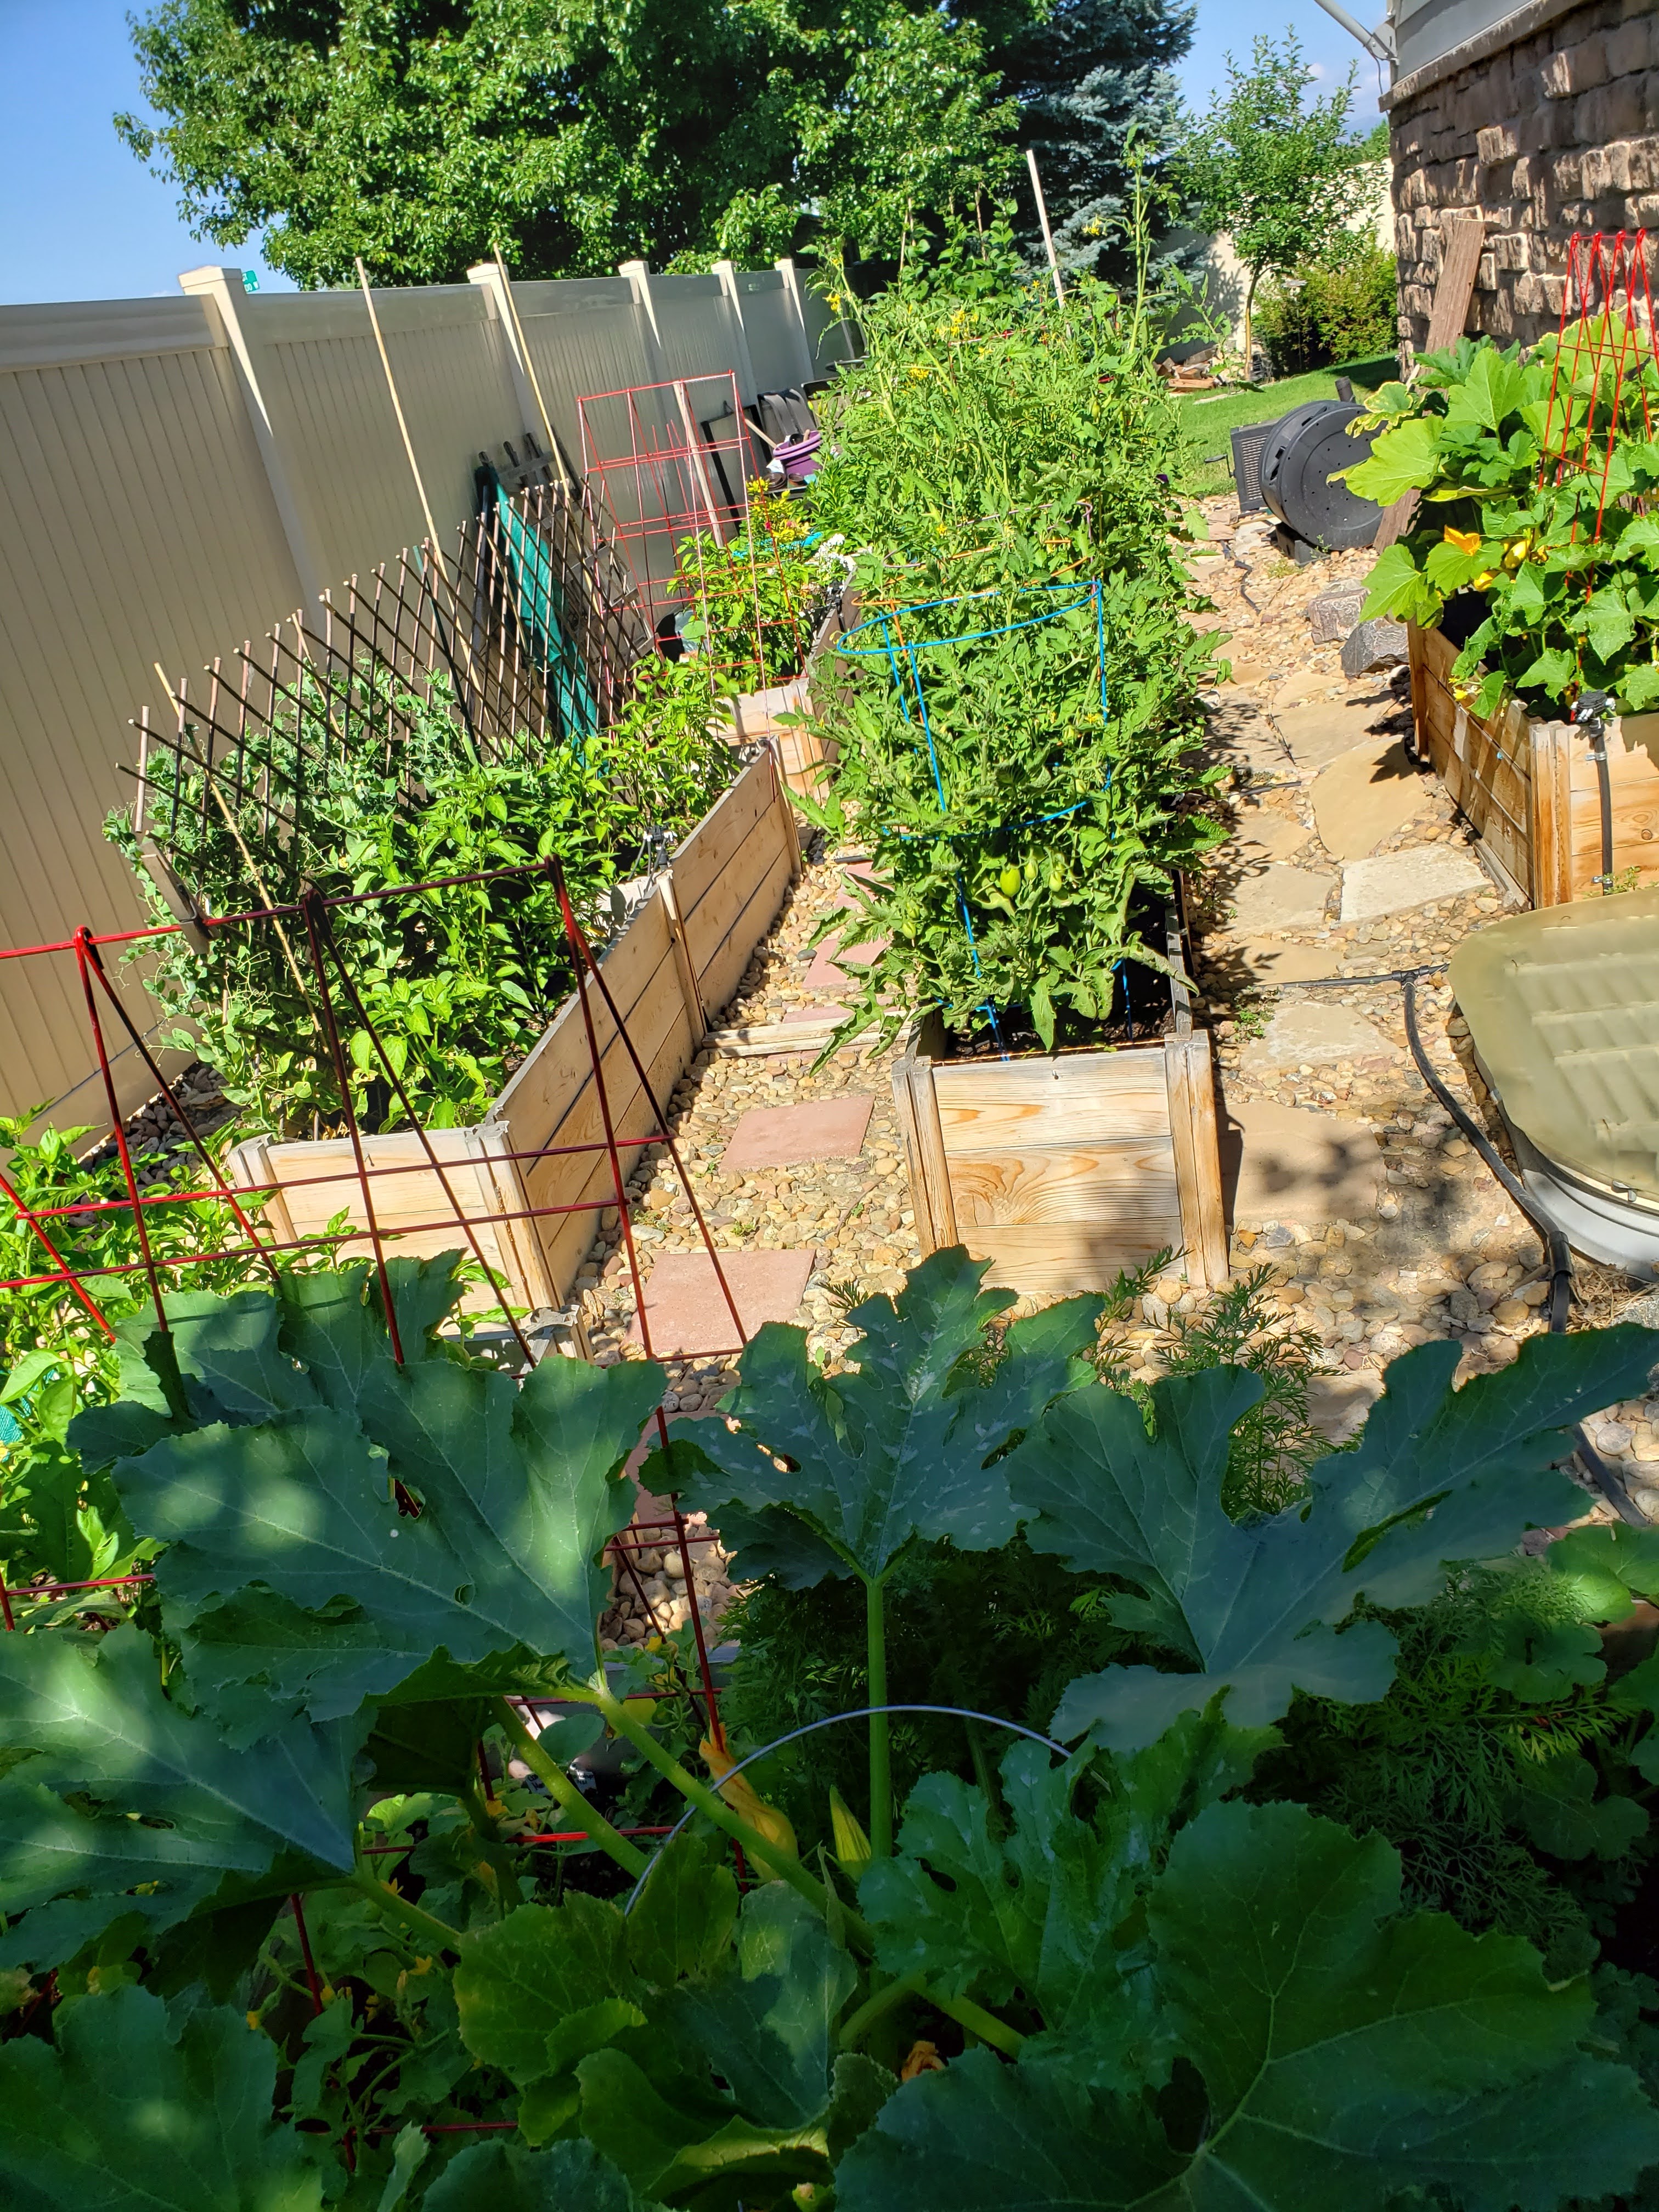
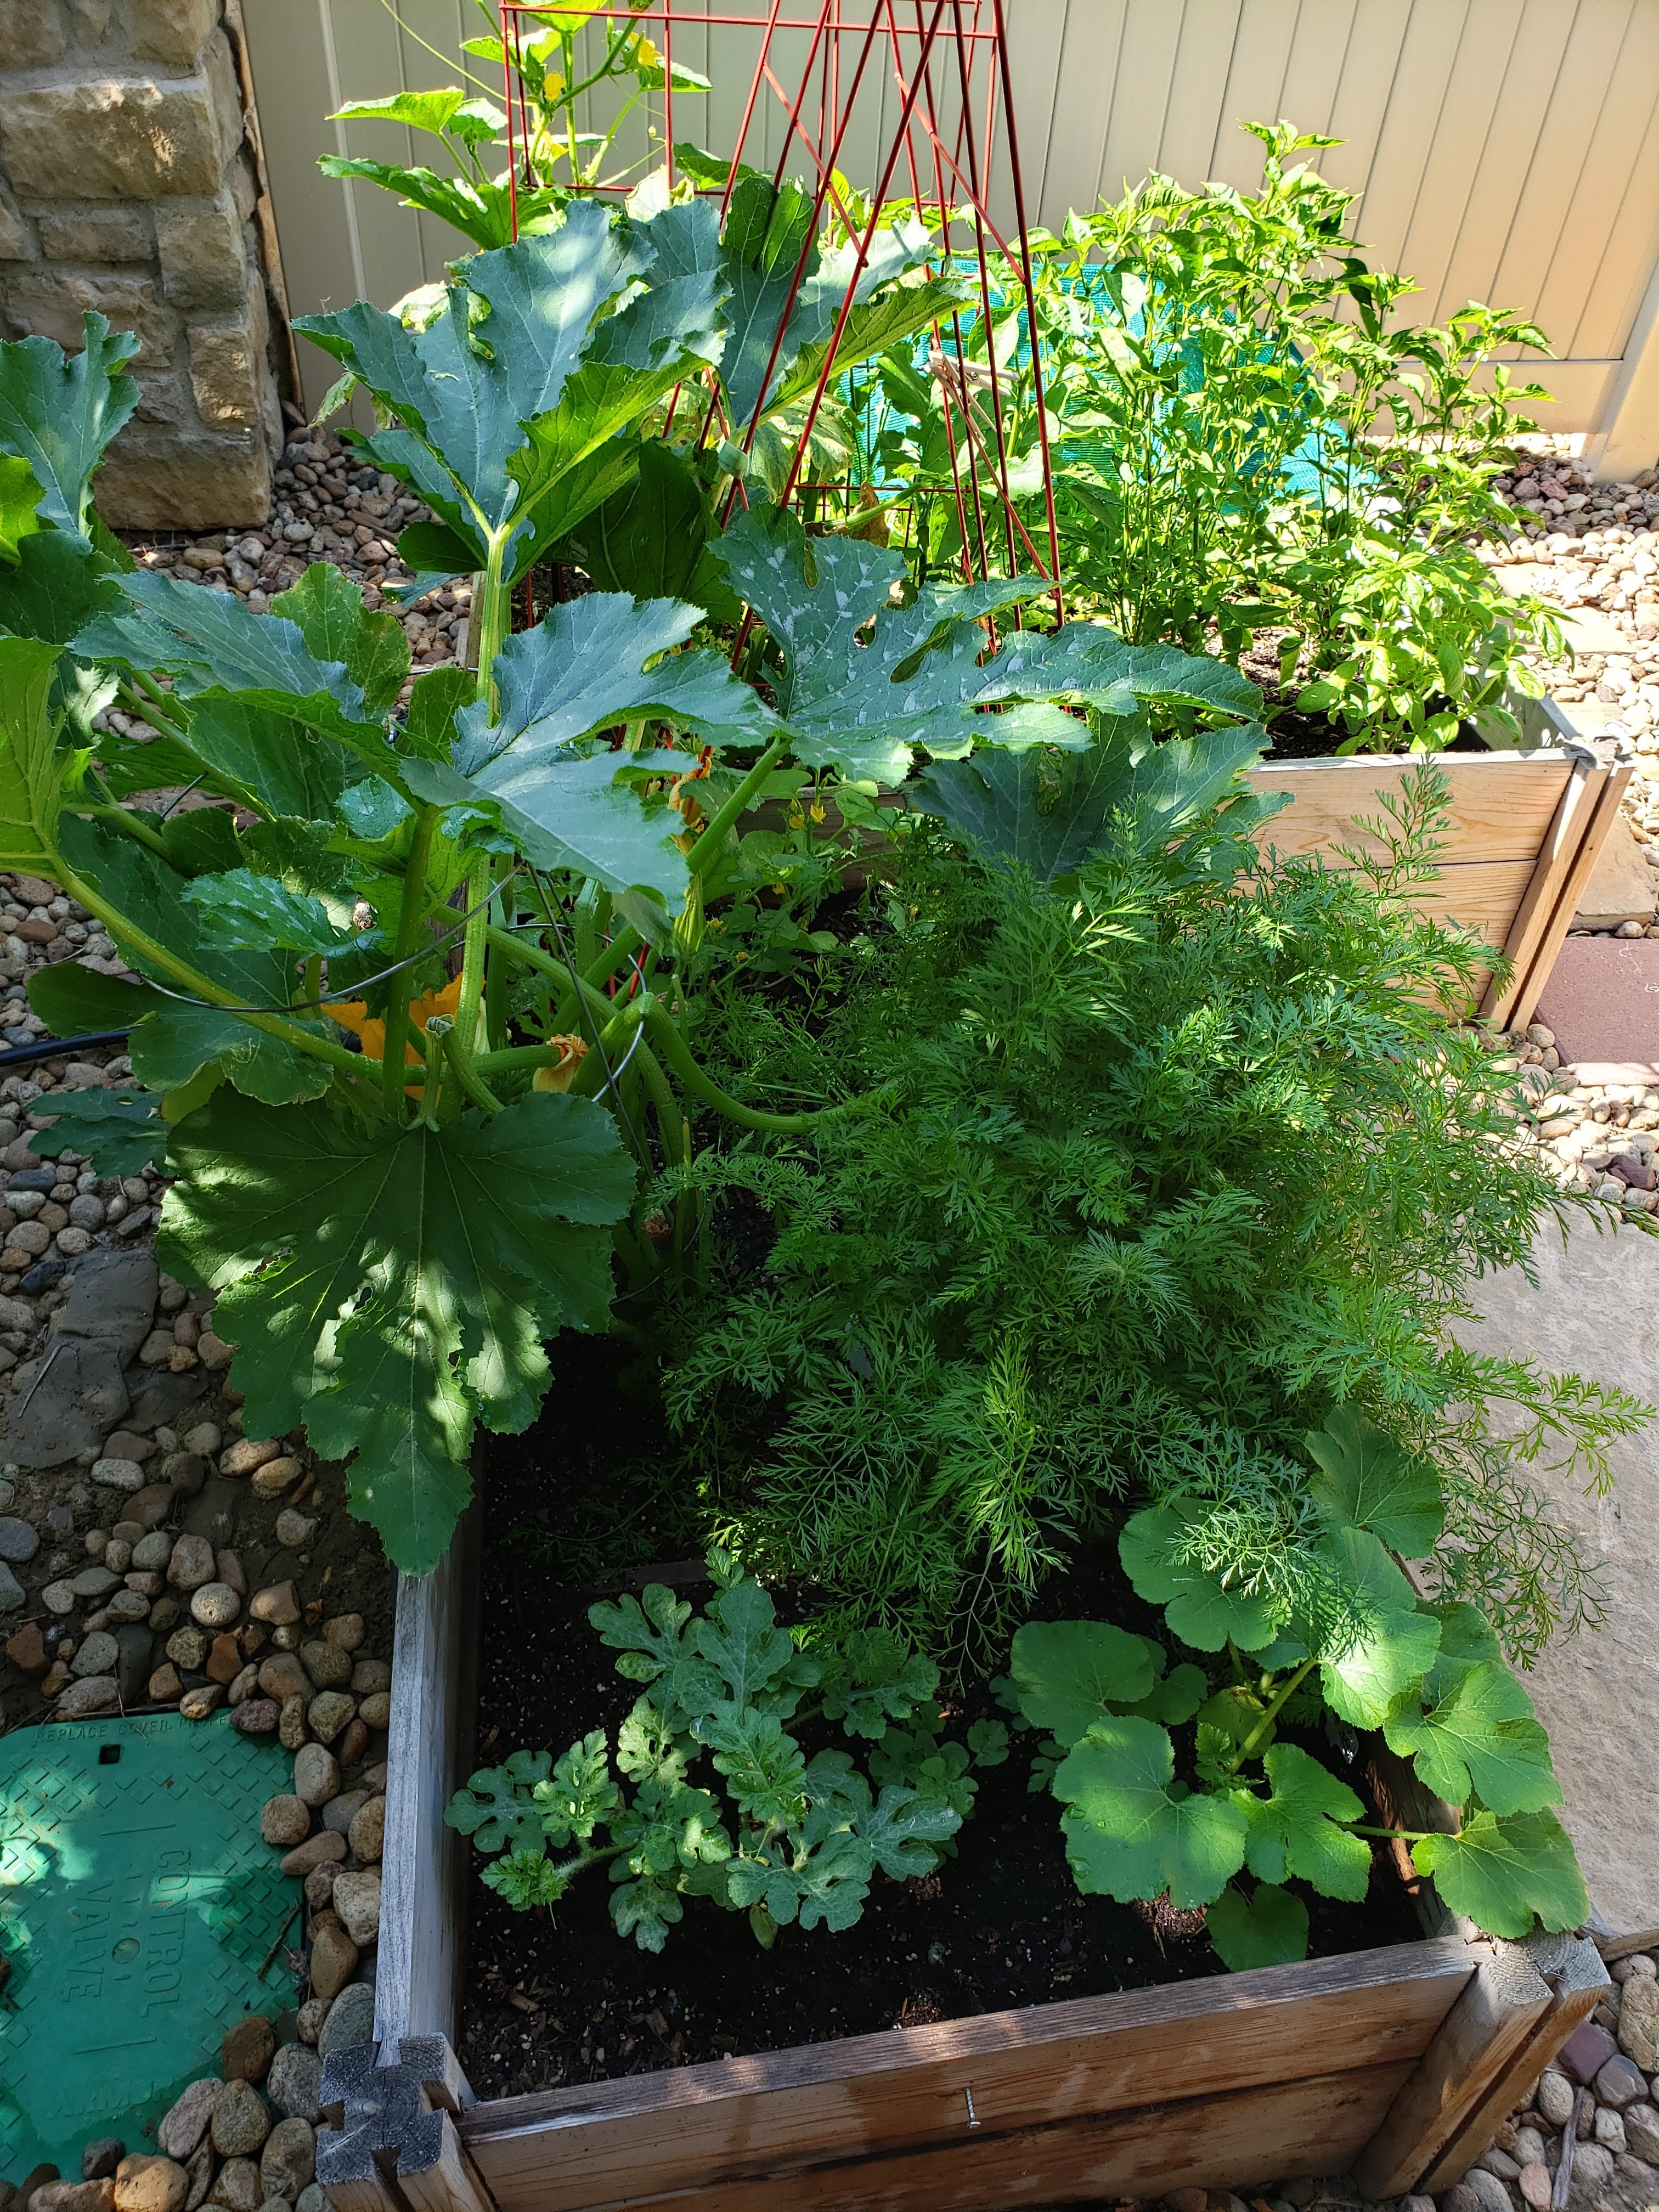
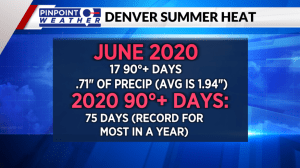
Apocalypse 2020: My collective summer 2020 garden experience. During the height of the COVID pandemic my garden should have been my refuge. But the symptoms of climate change manifested significantly in my happy place, and, combined with close proximity to a pond/nature area, and some plain old bad luck, I was not feeling very fucking happy about my happy place.
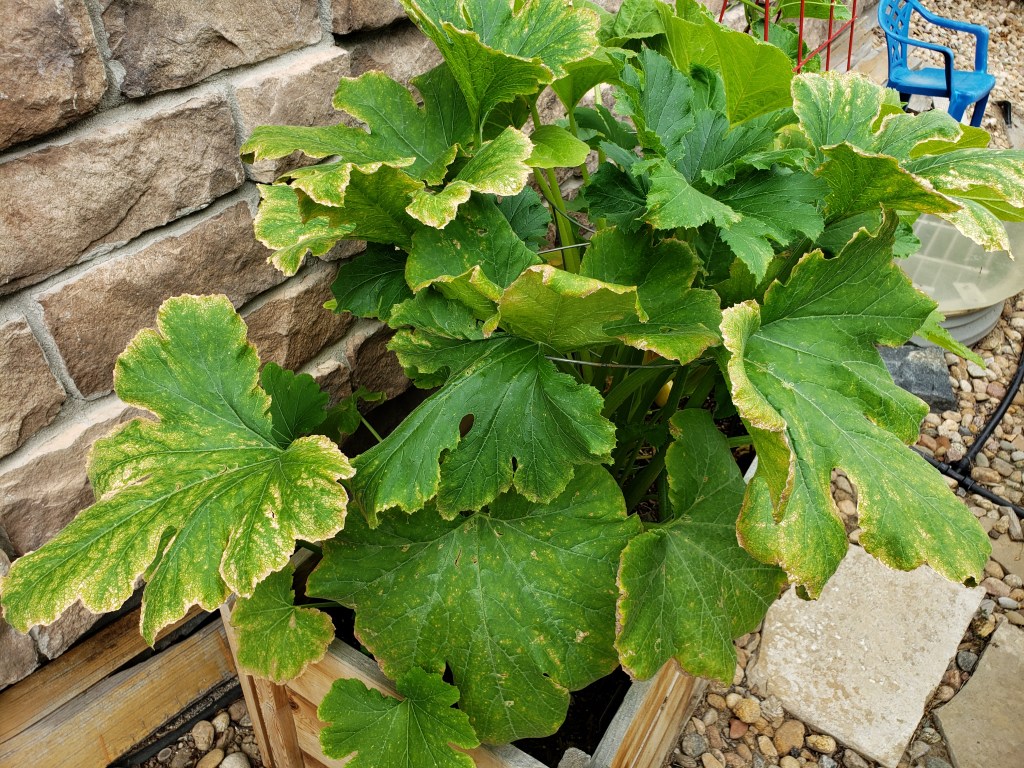
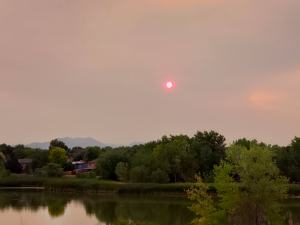
The wildfires that ravaged the West in 2020 left Front Range skies looking like Mordor for much of the summer. We even had ash snow down on us several times, and for days on end. The pic to right shows the small pond behind my house cooking under ominous skies. Temps were higher for longer than ever before, and it was so very dry. The summer heat and dry problems only compounded the late start to the planting season. We had late freezes in 2020 that broke my new hydrangeas, and stunted the growth of everything that dared to live through it. But none of that even includes the pesticles.
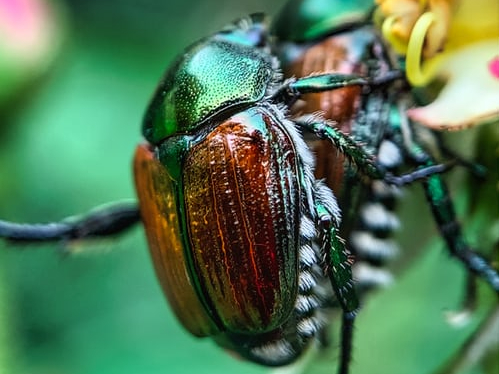
Japanese Beetles
Last year was the first time I encountered Japanese Beetles in my garden, and they’ve returned this year. Please see my earlier post Fucking Japanese Beetles, to see how that has gone. Since my beetle obliteration treatment, I’ve only found one more this summer, and I used the gentle organic method of removal.
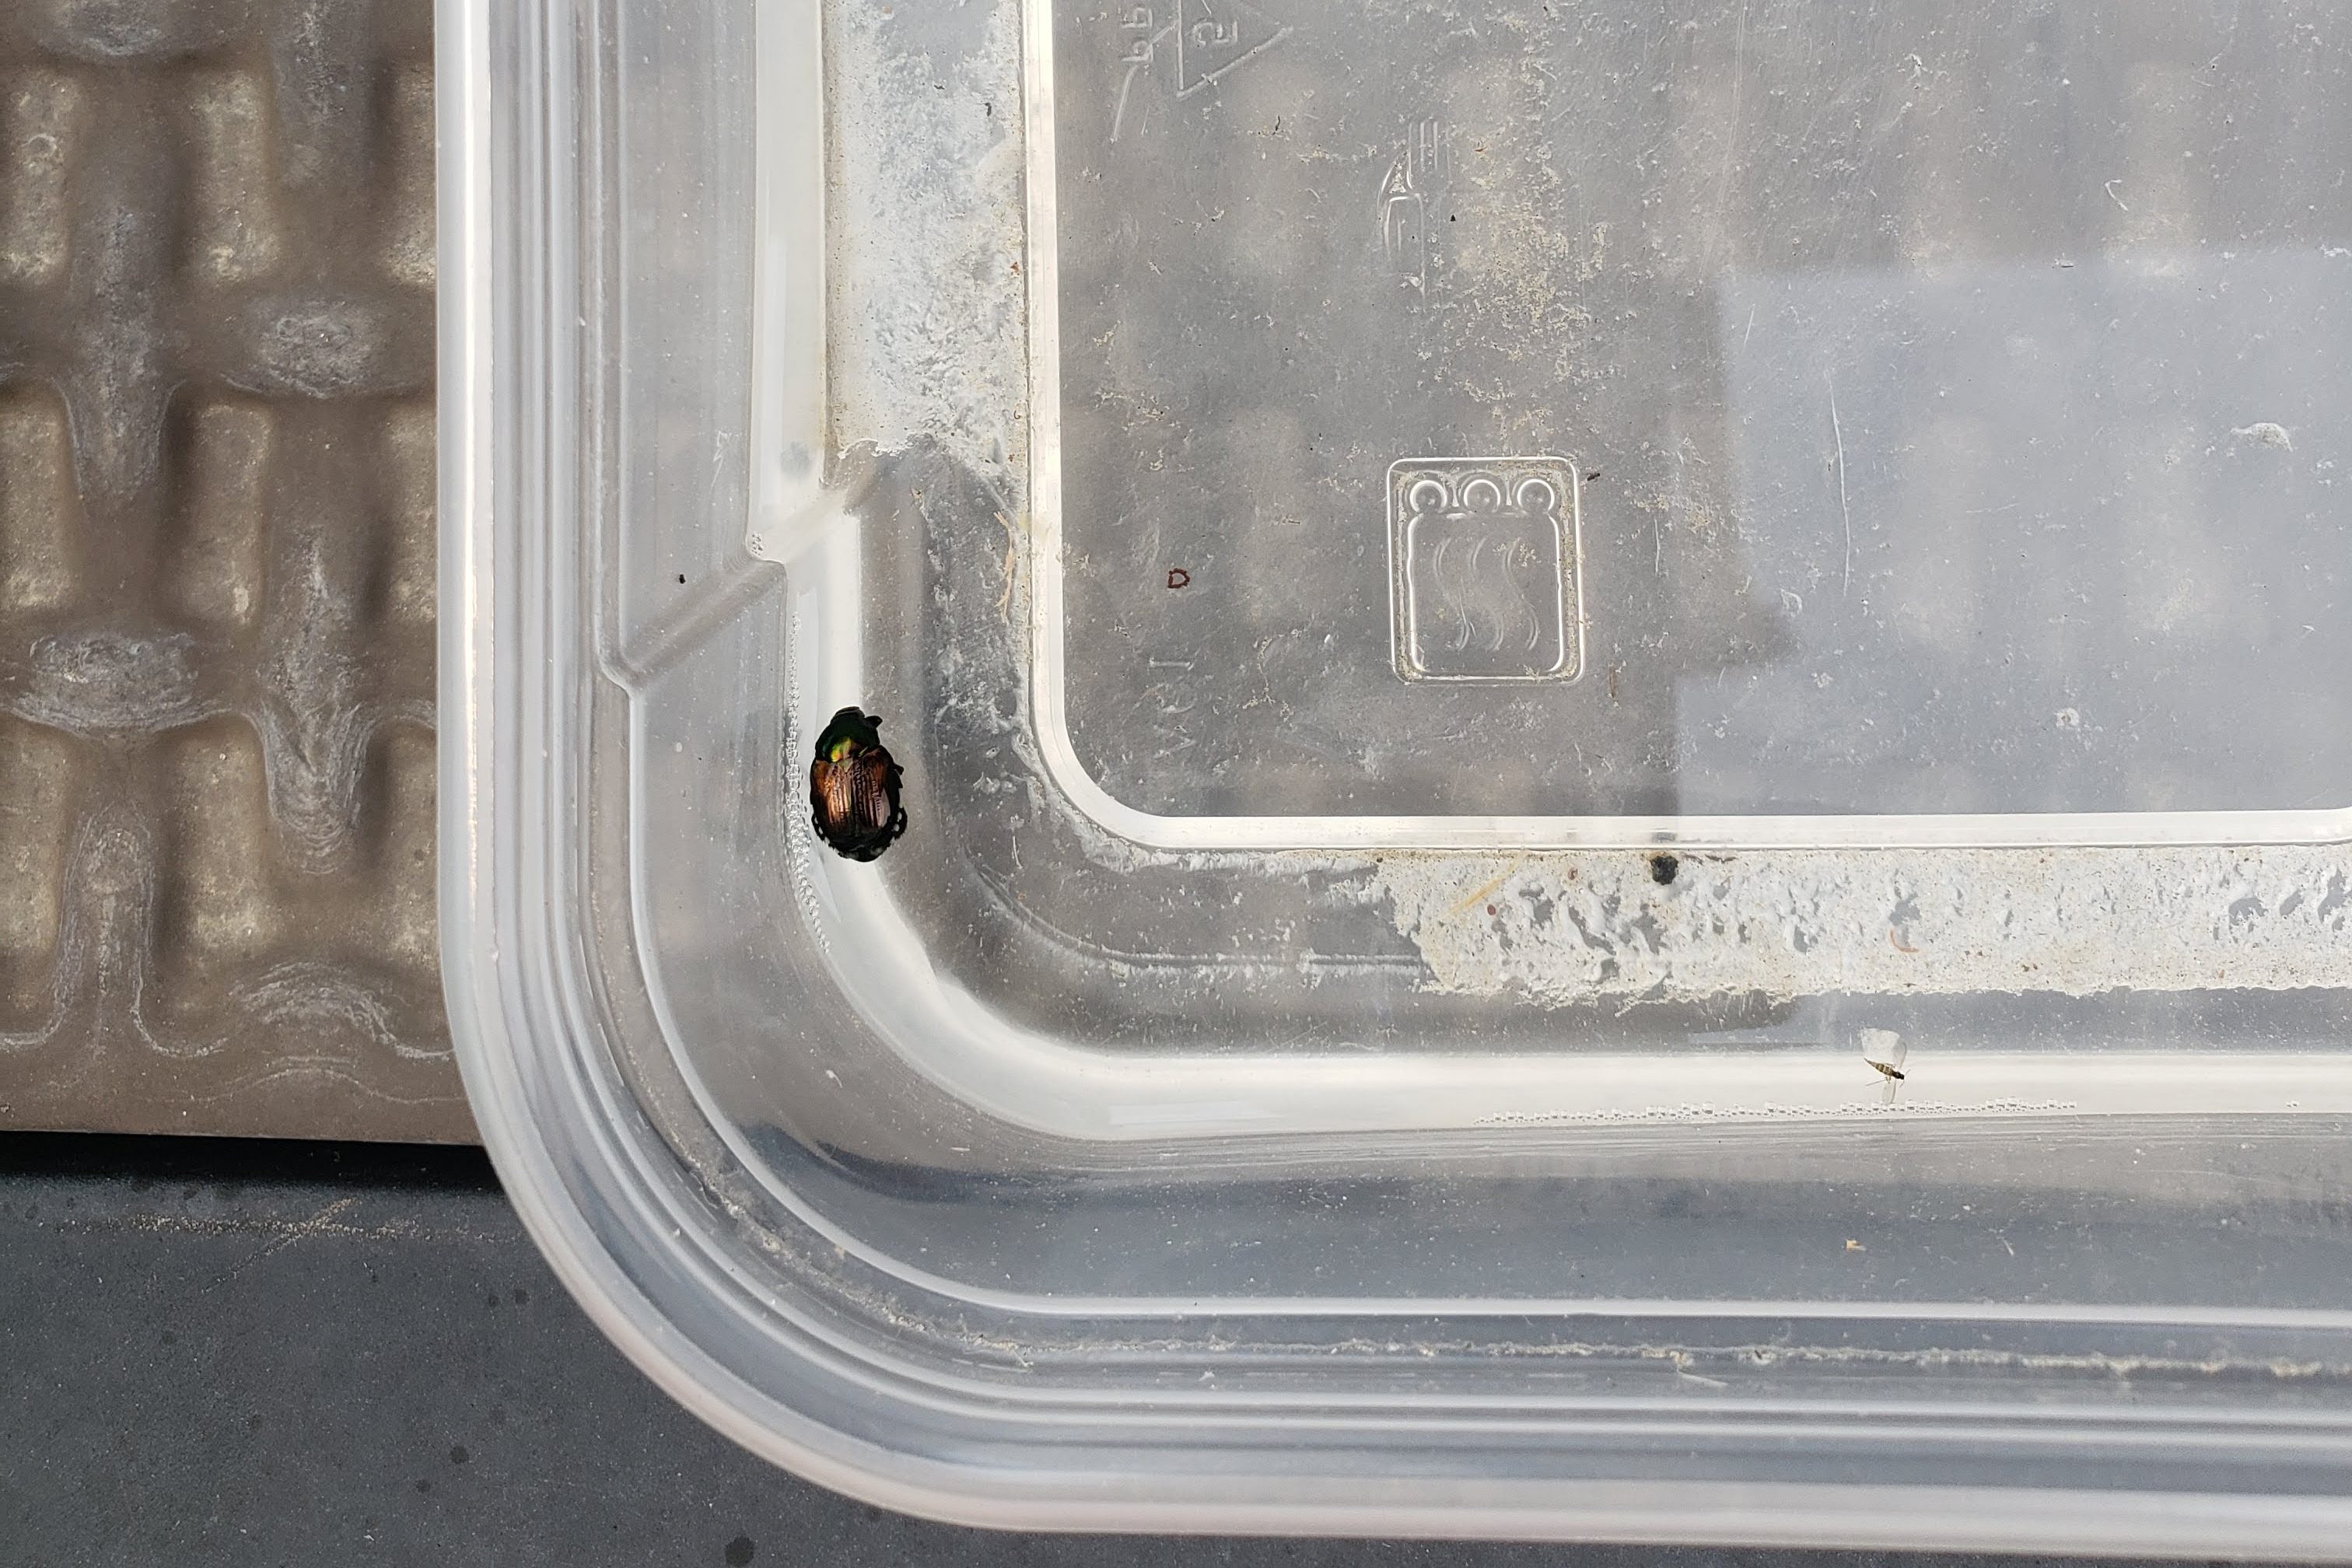
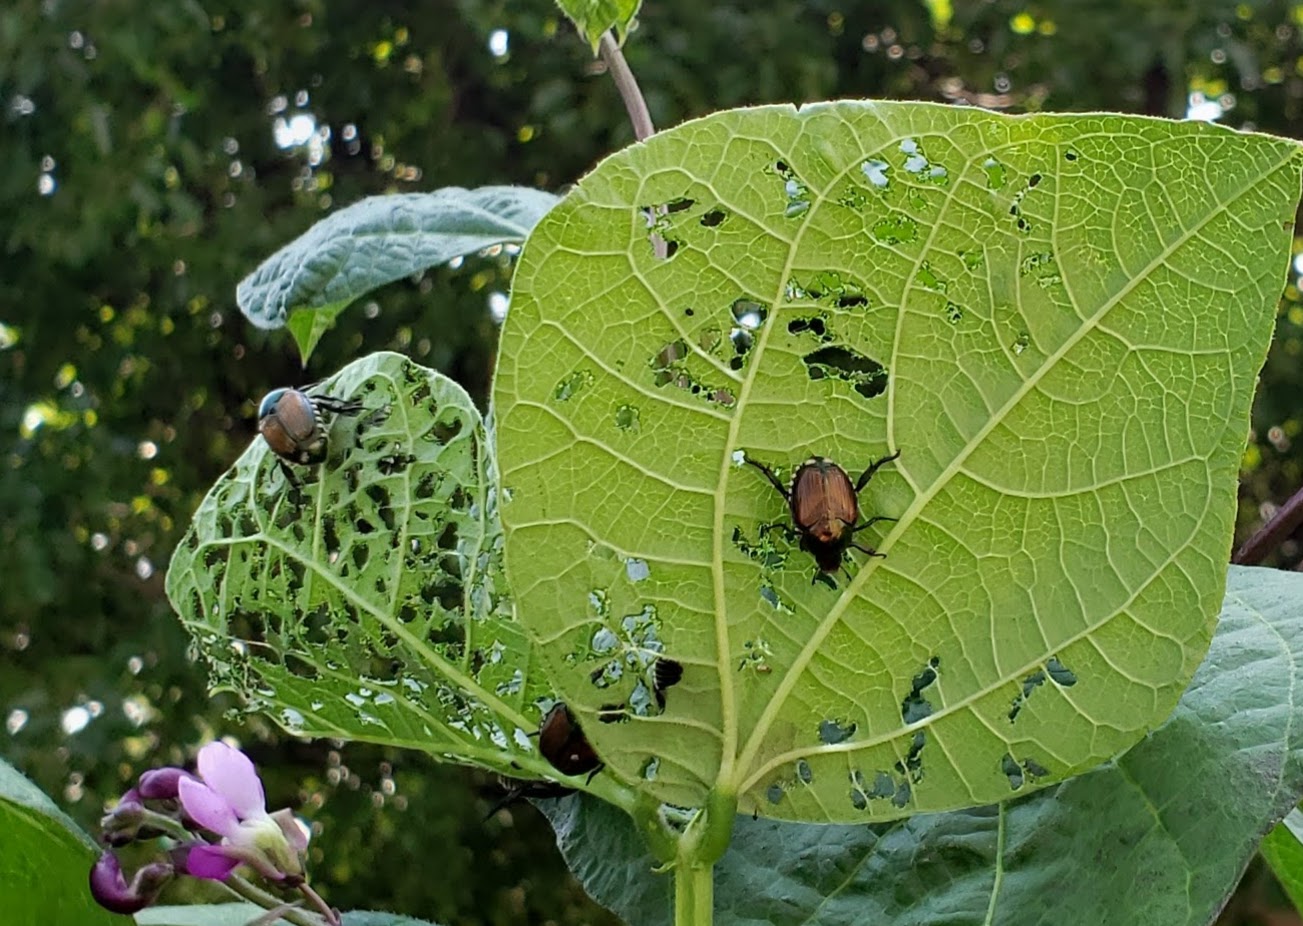
These pretty beetles are harmless to you but will decimate your garden. And your neighbor’s garden. And every other garden they can get to. They will congregate on sunny leaves and eat them skeletal in minutes. They don’t really mess with your actual fruit, but they’ll kill your plant by eating up its leaves.
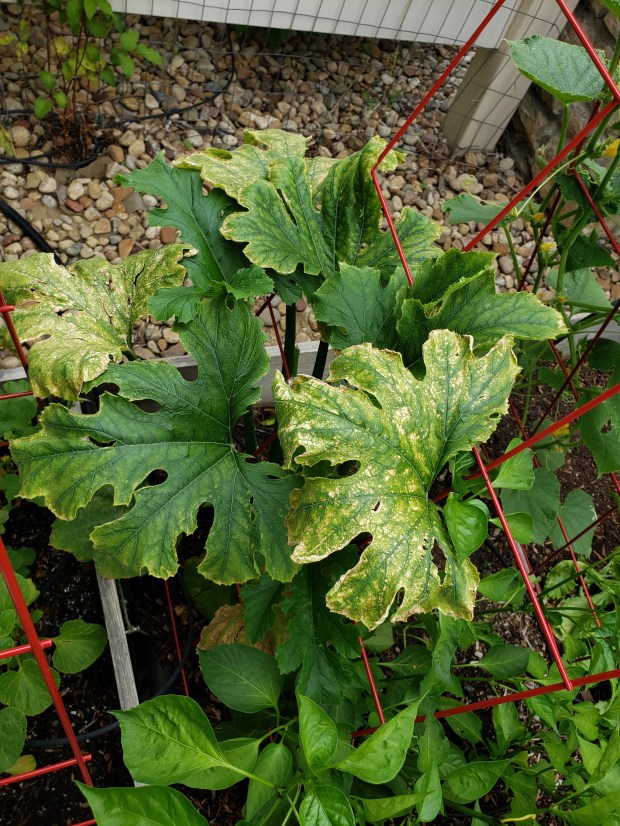
Flea Beetles

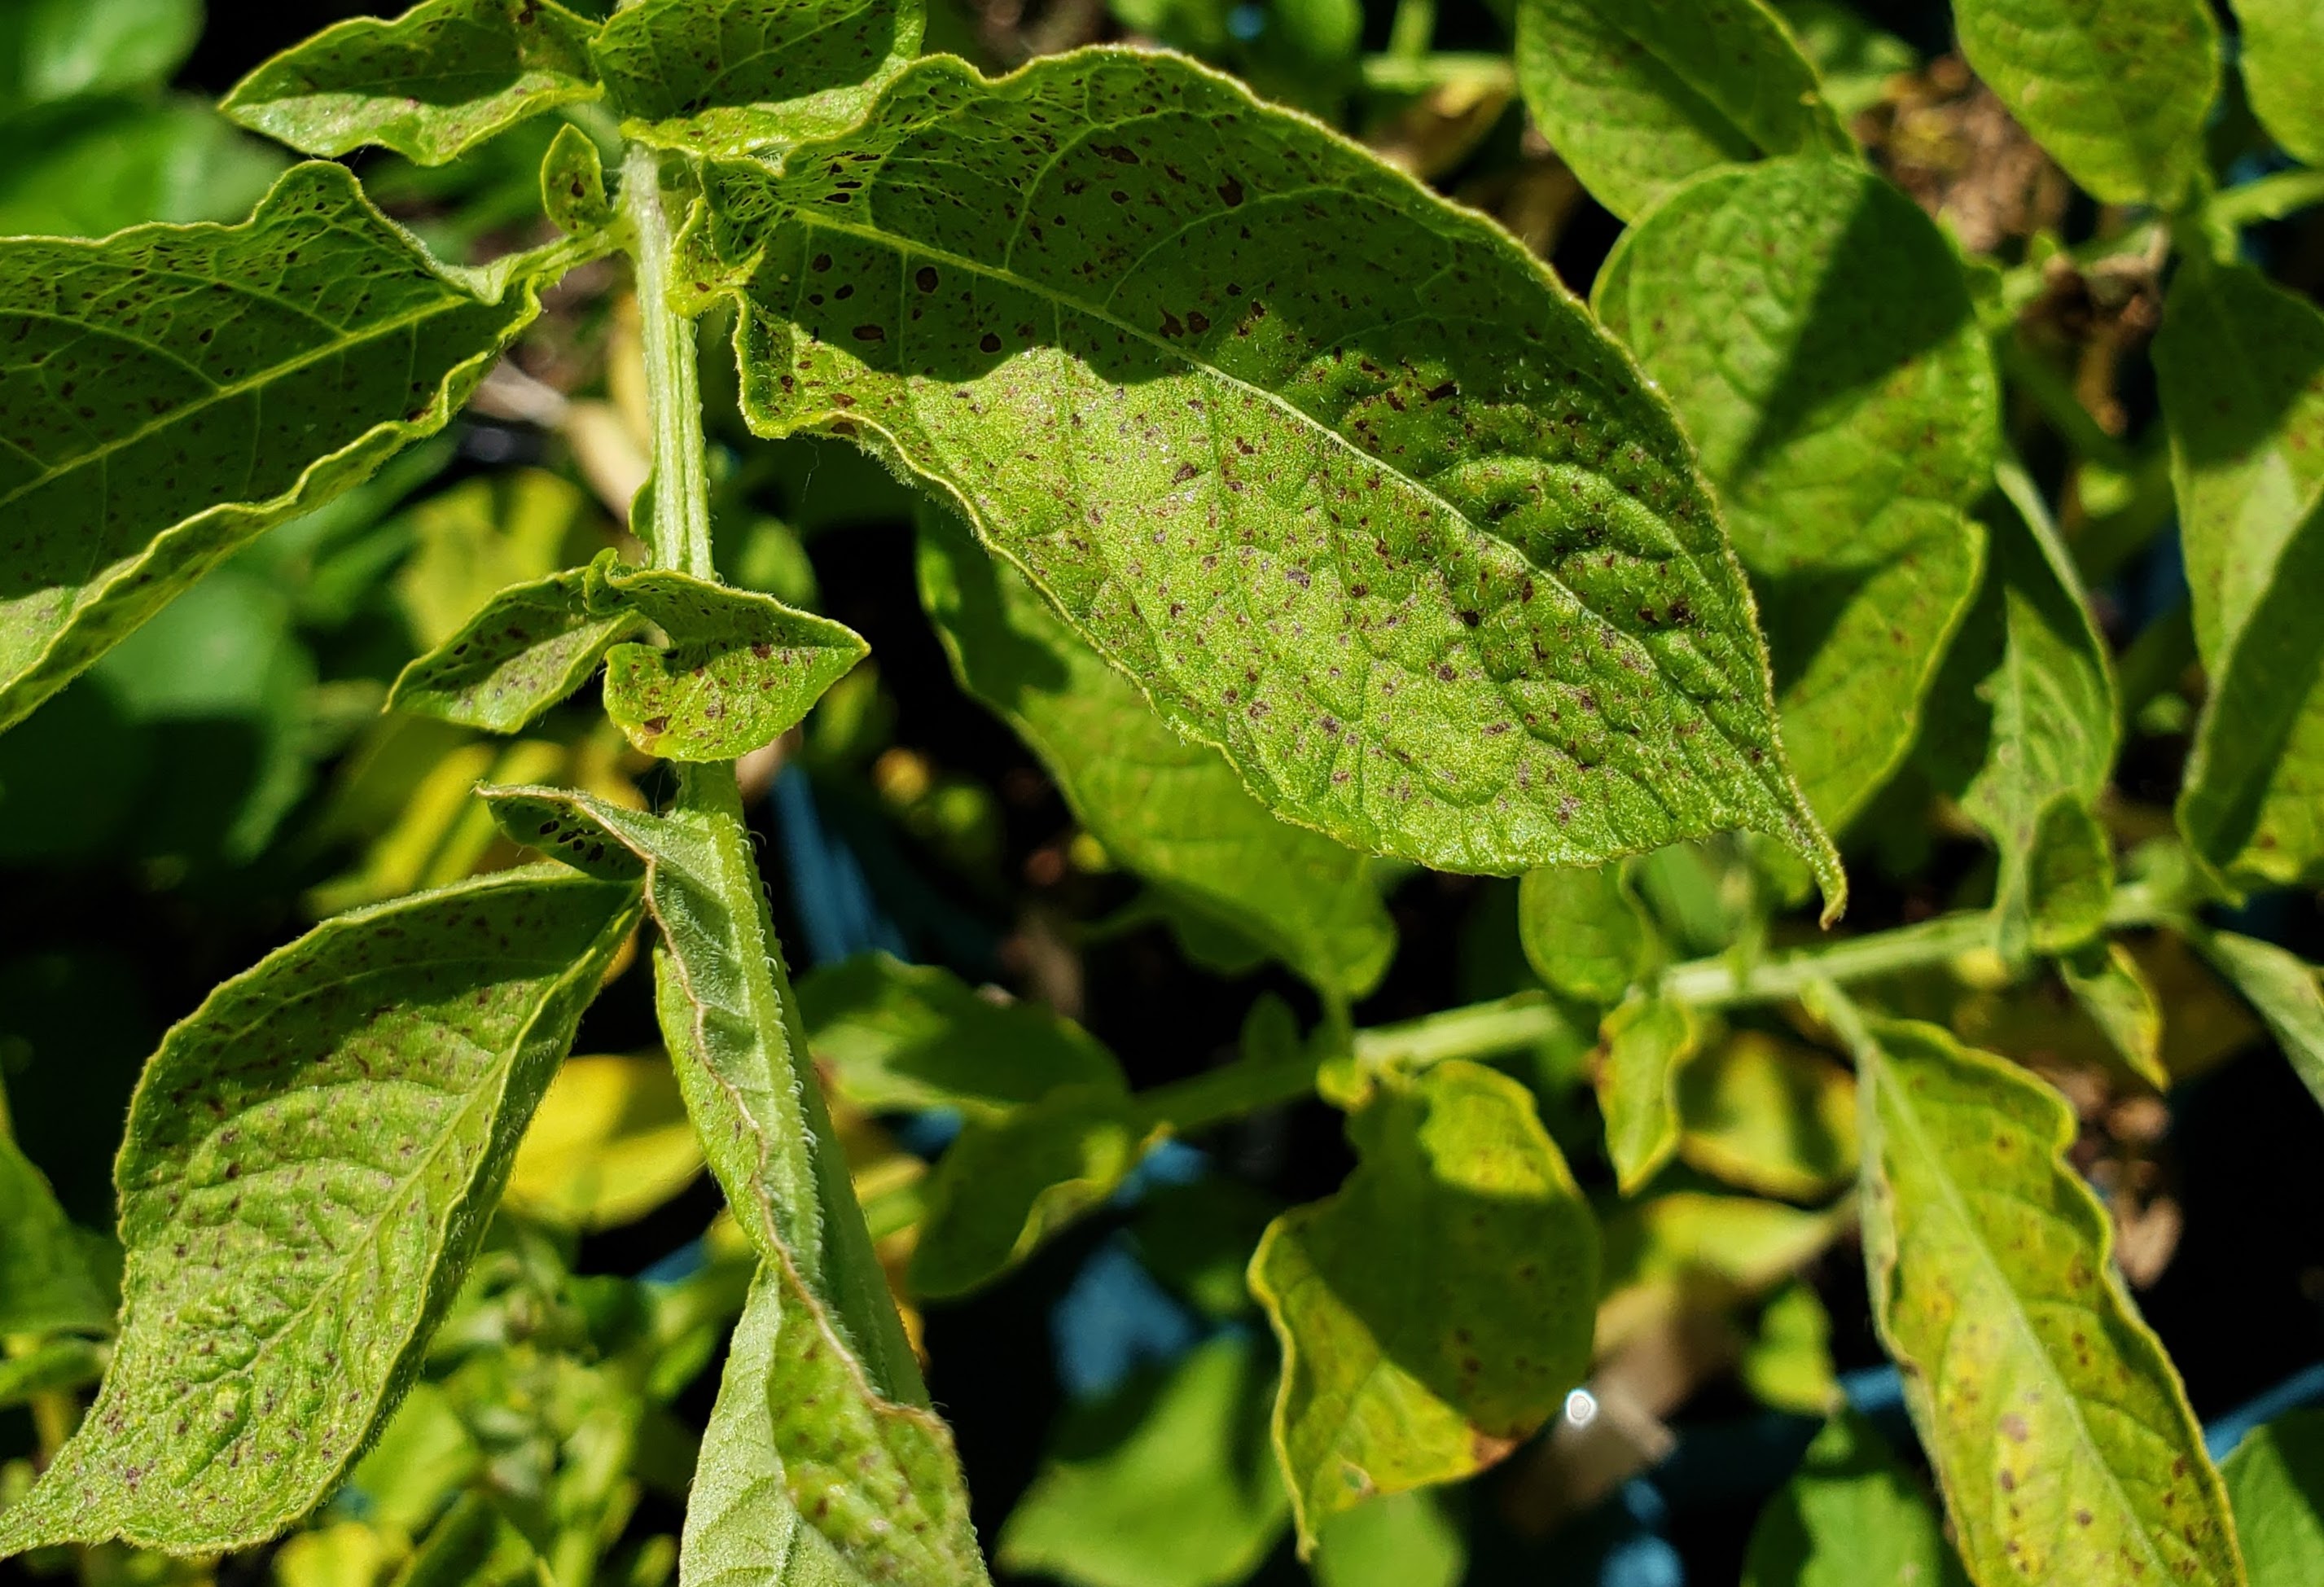
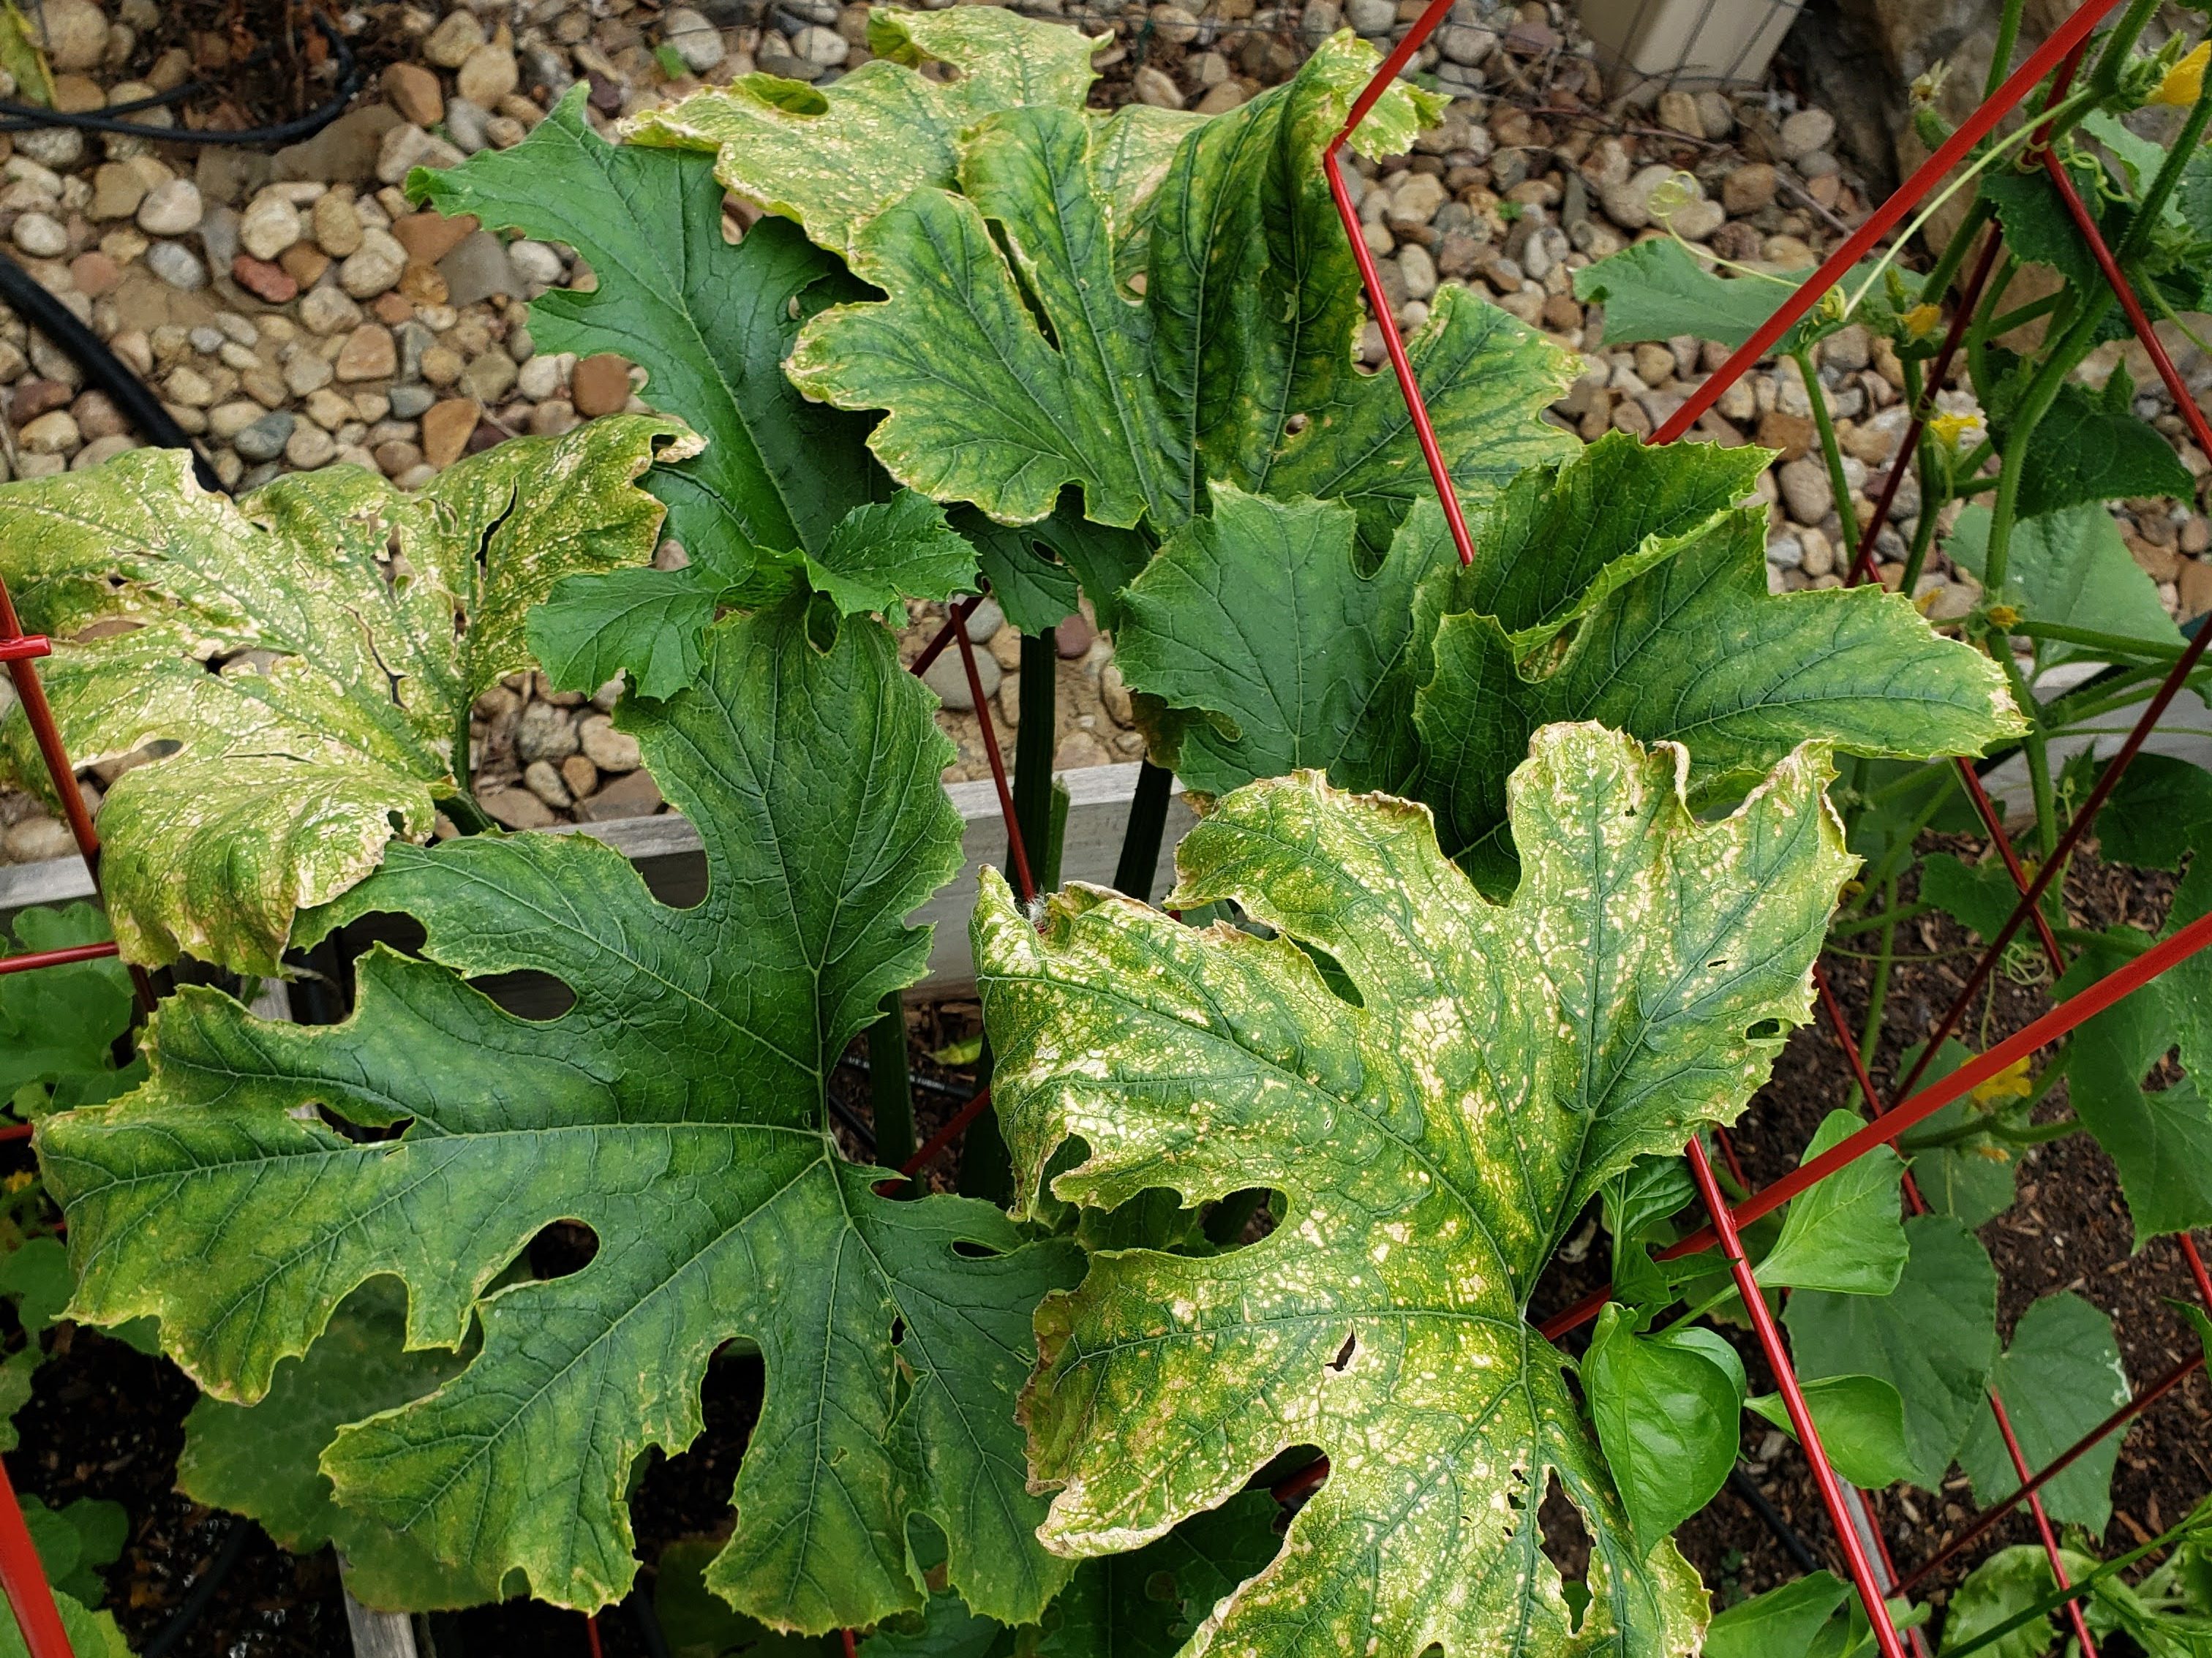
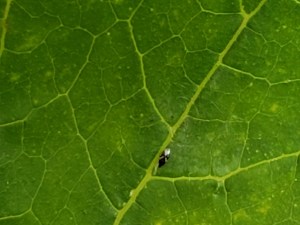
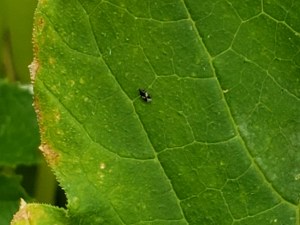
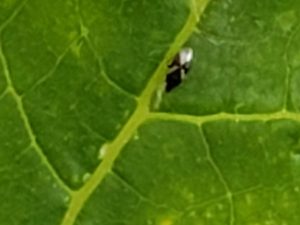
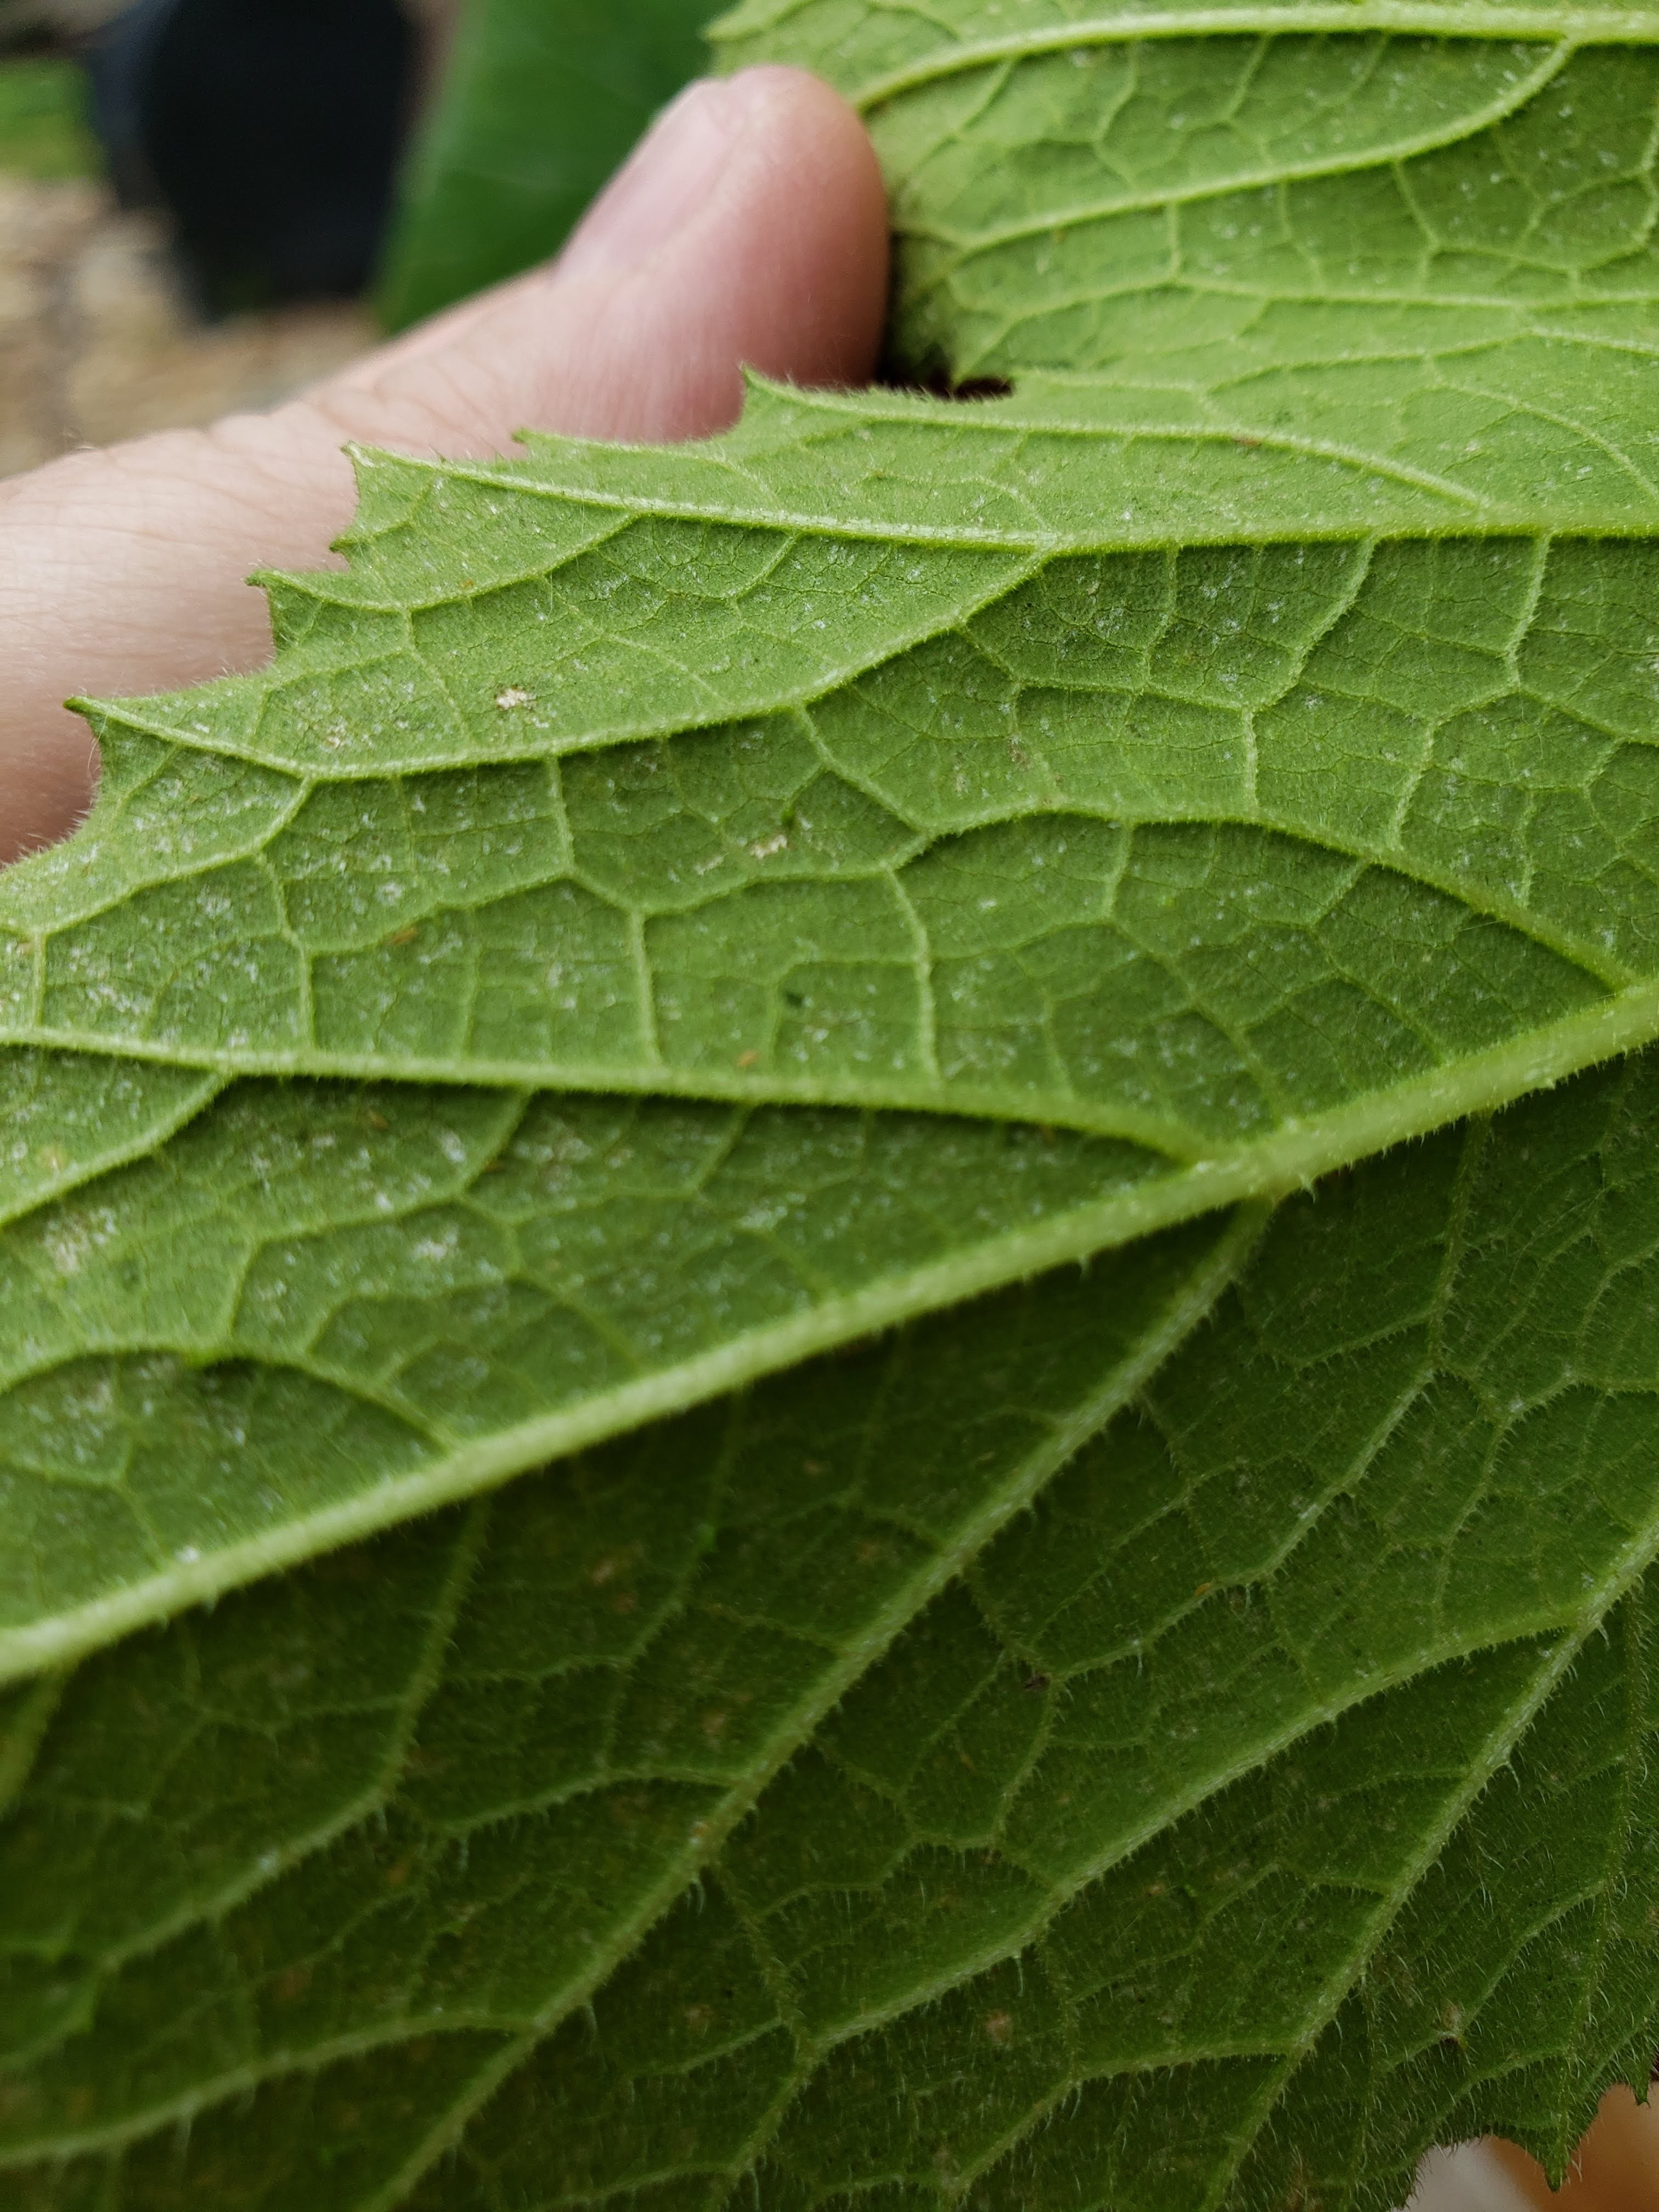
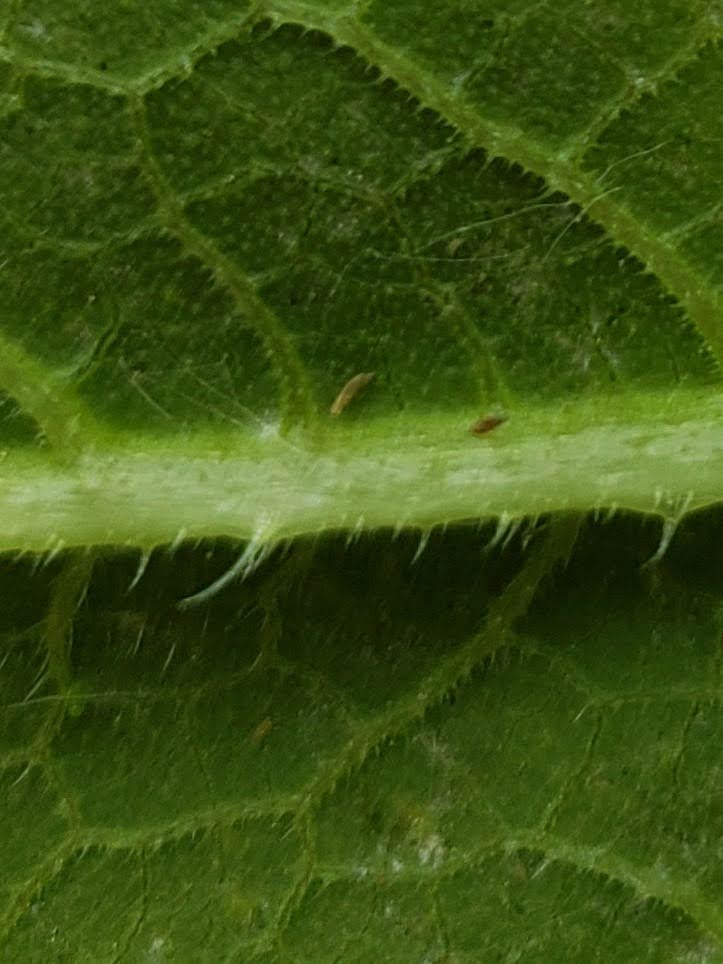
I hadn’t started photographing my garden yet when I ran into these wankers early this spring, so I’ll use my words and borrow photos. Flea beetles are hard to see because they’re so very tiny. It will look like your plant has finely ground pepper shaken on them, pepper that takes to the air as soon as your hand approaches. They jump, so as soon as you get close to the plant that has them, they just jump away, it’s enough to make you question what you’re seeing. Fucking gaslighters. (Image at left from https://extension.colostate.edu/topic-areas/insects/flea-beetles-5-592/)
Basically, it looks like your fresh new sprouts and transplants have become target practice for a legion of ant-size sharpshooters. Tender new leaves will be shot full of tiny holes, giving them a lace-like appearance. But they’re tough to address because they’re hard to see and they just jump away from your pesticide.
From my research, the best hope is that your fresh new baby garden plants are healthy and strong enough to deal with the holes for a few weeks until their leaves are big and tough enough that the beetles move on. This is how I got through my infestation. [Admittedly, it took me so long to finally research what was going on, that “waiting it out” was only like two weeks of waffling about pesticide.] The sprouts and transplants were too young for me to feel comfortable using pesticides, especially with our late freezes that put the whole garden behind schedule. I didn’t want to fry my little seedlings and have to start all over again at the beginning of June. However, if I get them again, it’s good to know that there are plenty of the usual pesticides that will mitigate. See this link to Colorado State University’s extension page on flea beetles for more information.
Sure enough, although the flea beetles took bites of almost everything, none of my babies appeared harmed by the little holes, and the beetles moved on after a couple of weeks. I didn’t try any pesticides, and the lace-patterned leaves quickly disappeared under the mountains of new growth to maturity. Whew, feeling like I got lucky!
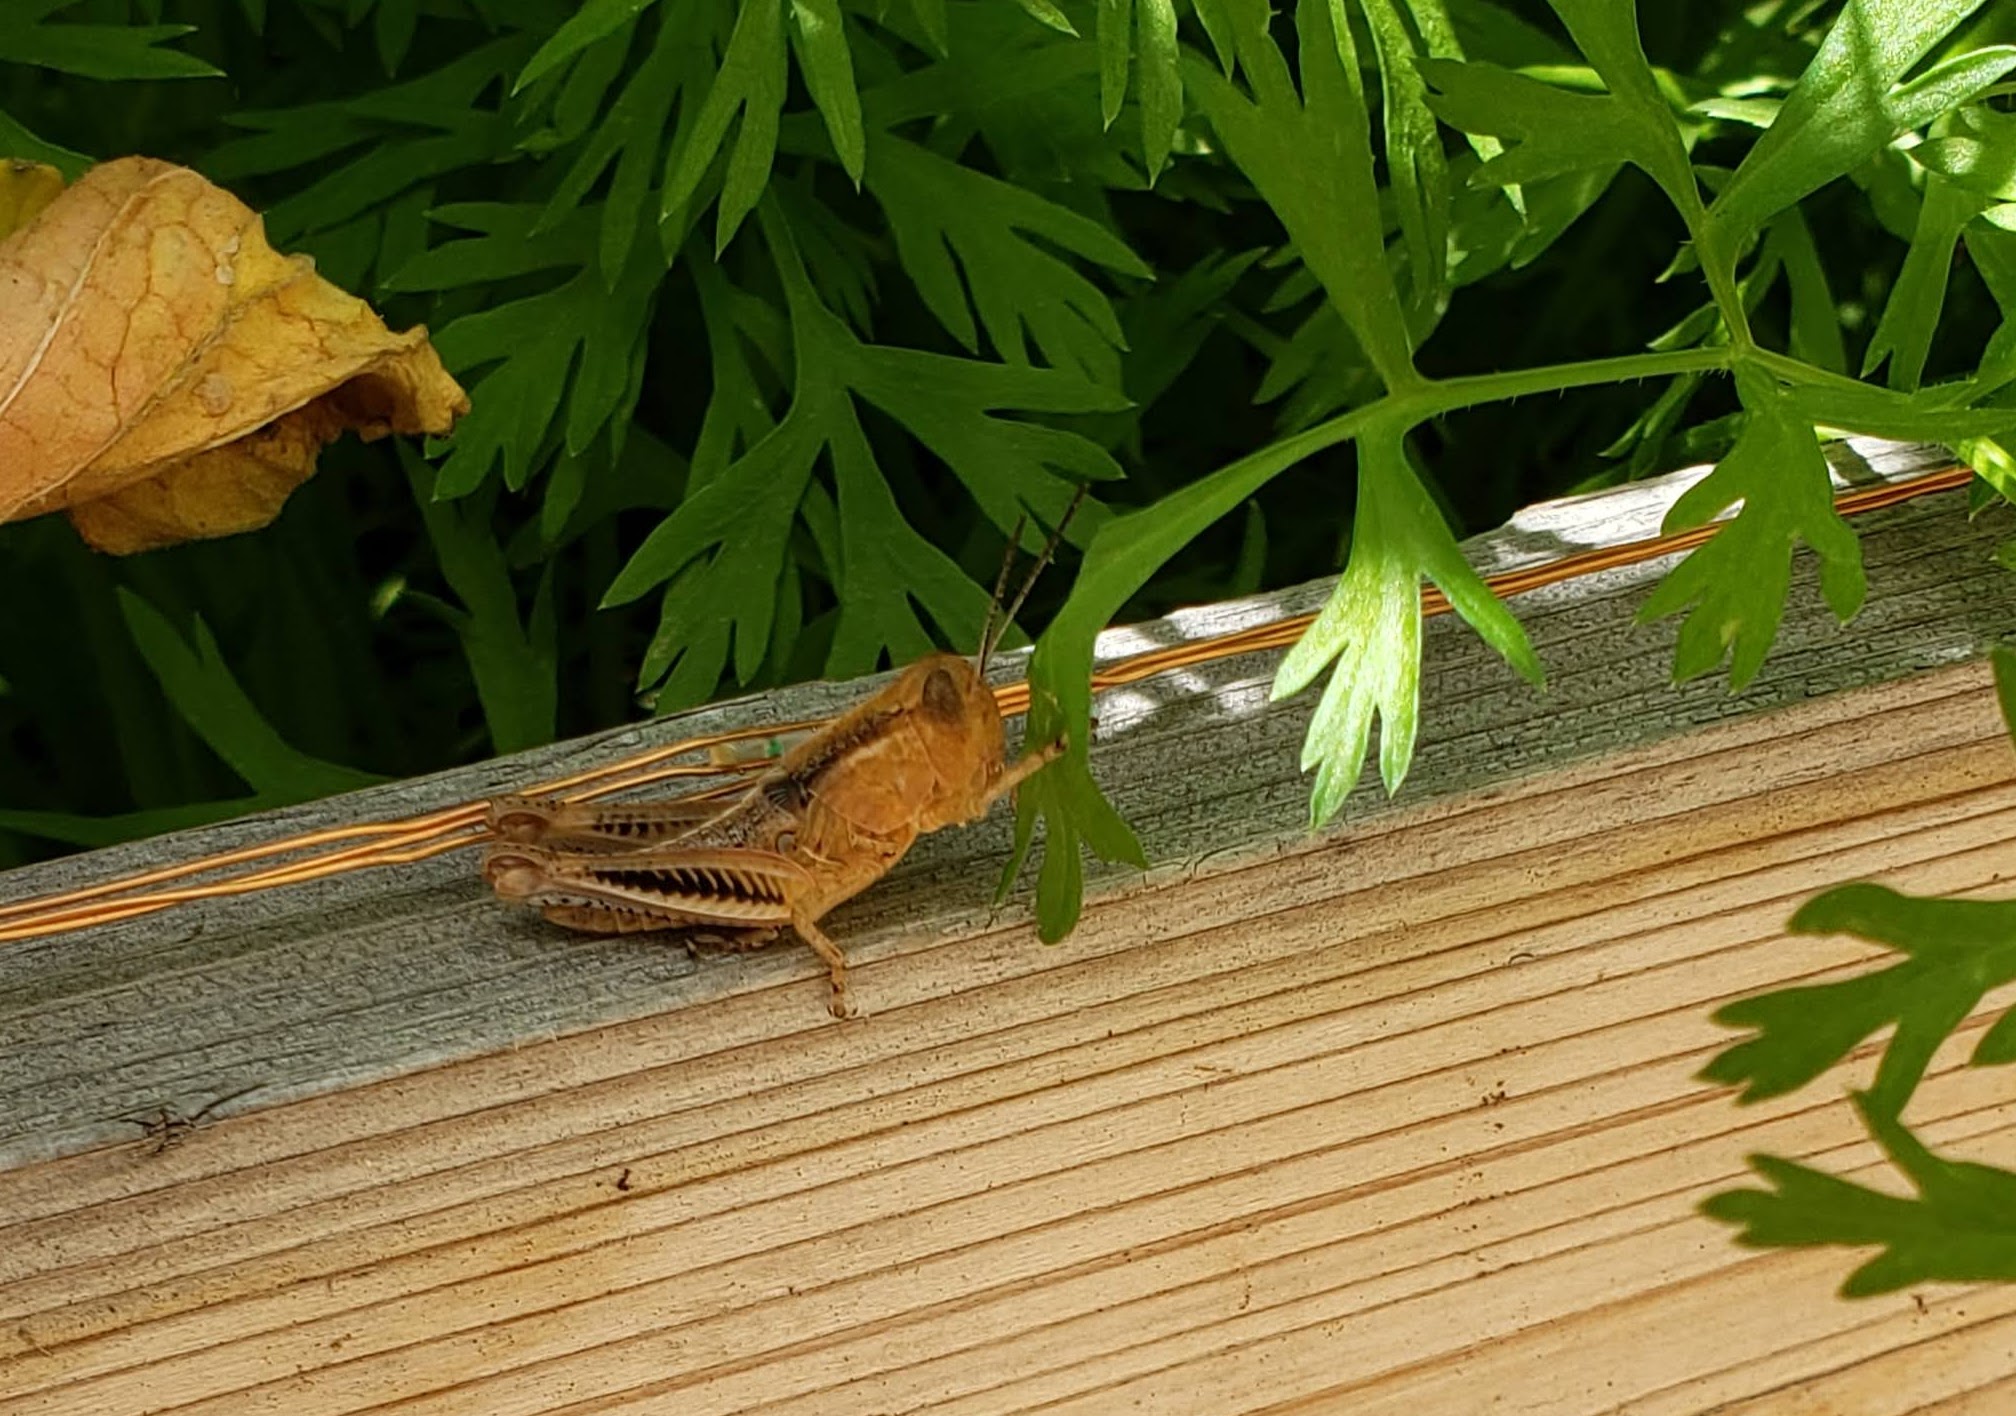
Grasshoppers
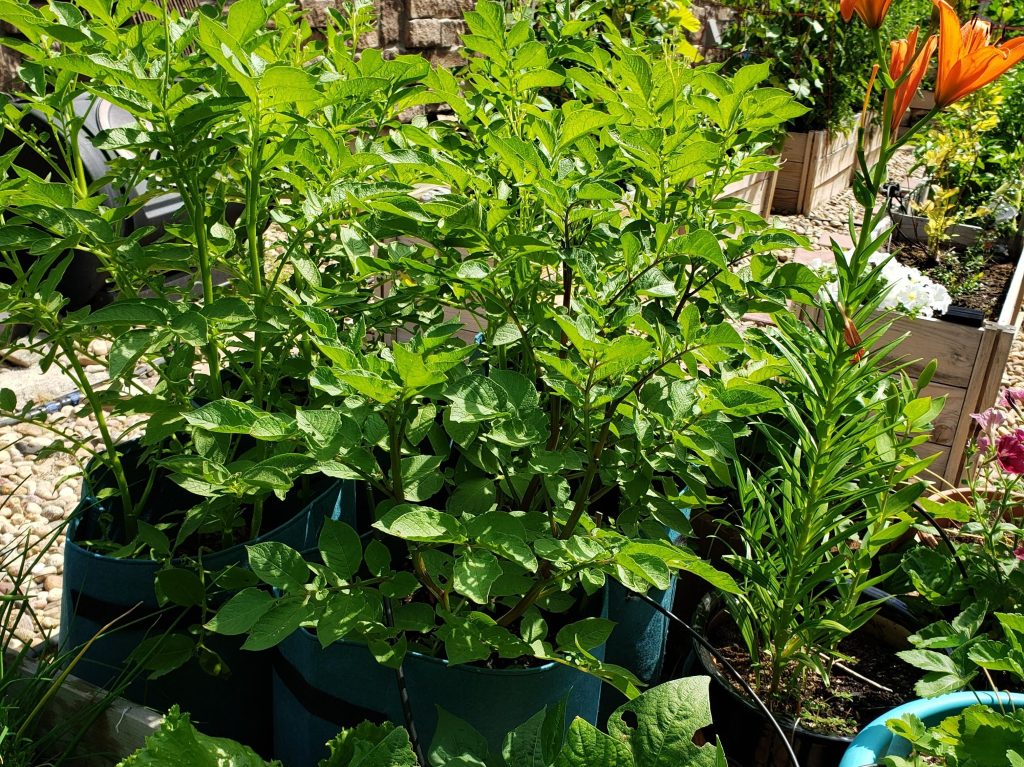
So these assholes are just eating machines. I’m convinced that they were at least half the reason I had no potato crop during the Apocalypse last summer. Mine were hyyuuuge and brought friends. They’re tough because they can just jump away from you and your spray. And then come back to munch after you have left and your spray has dried or washed off.
Asshole 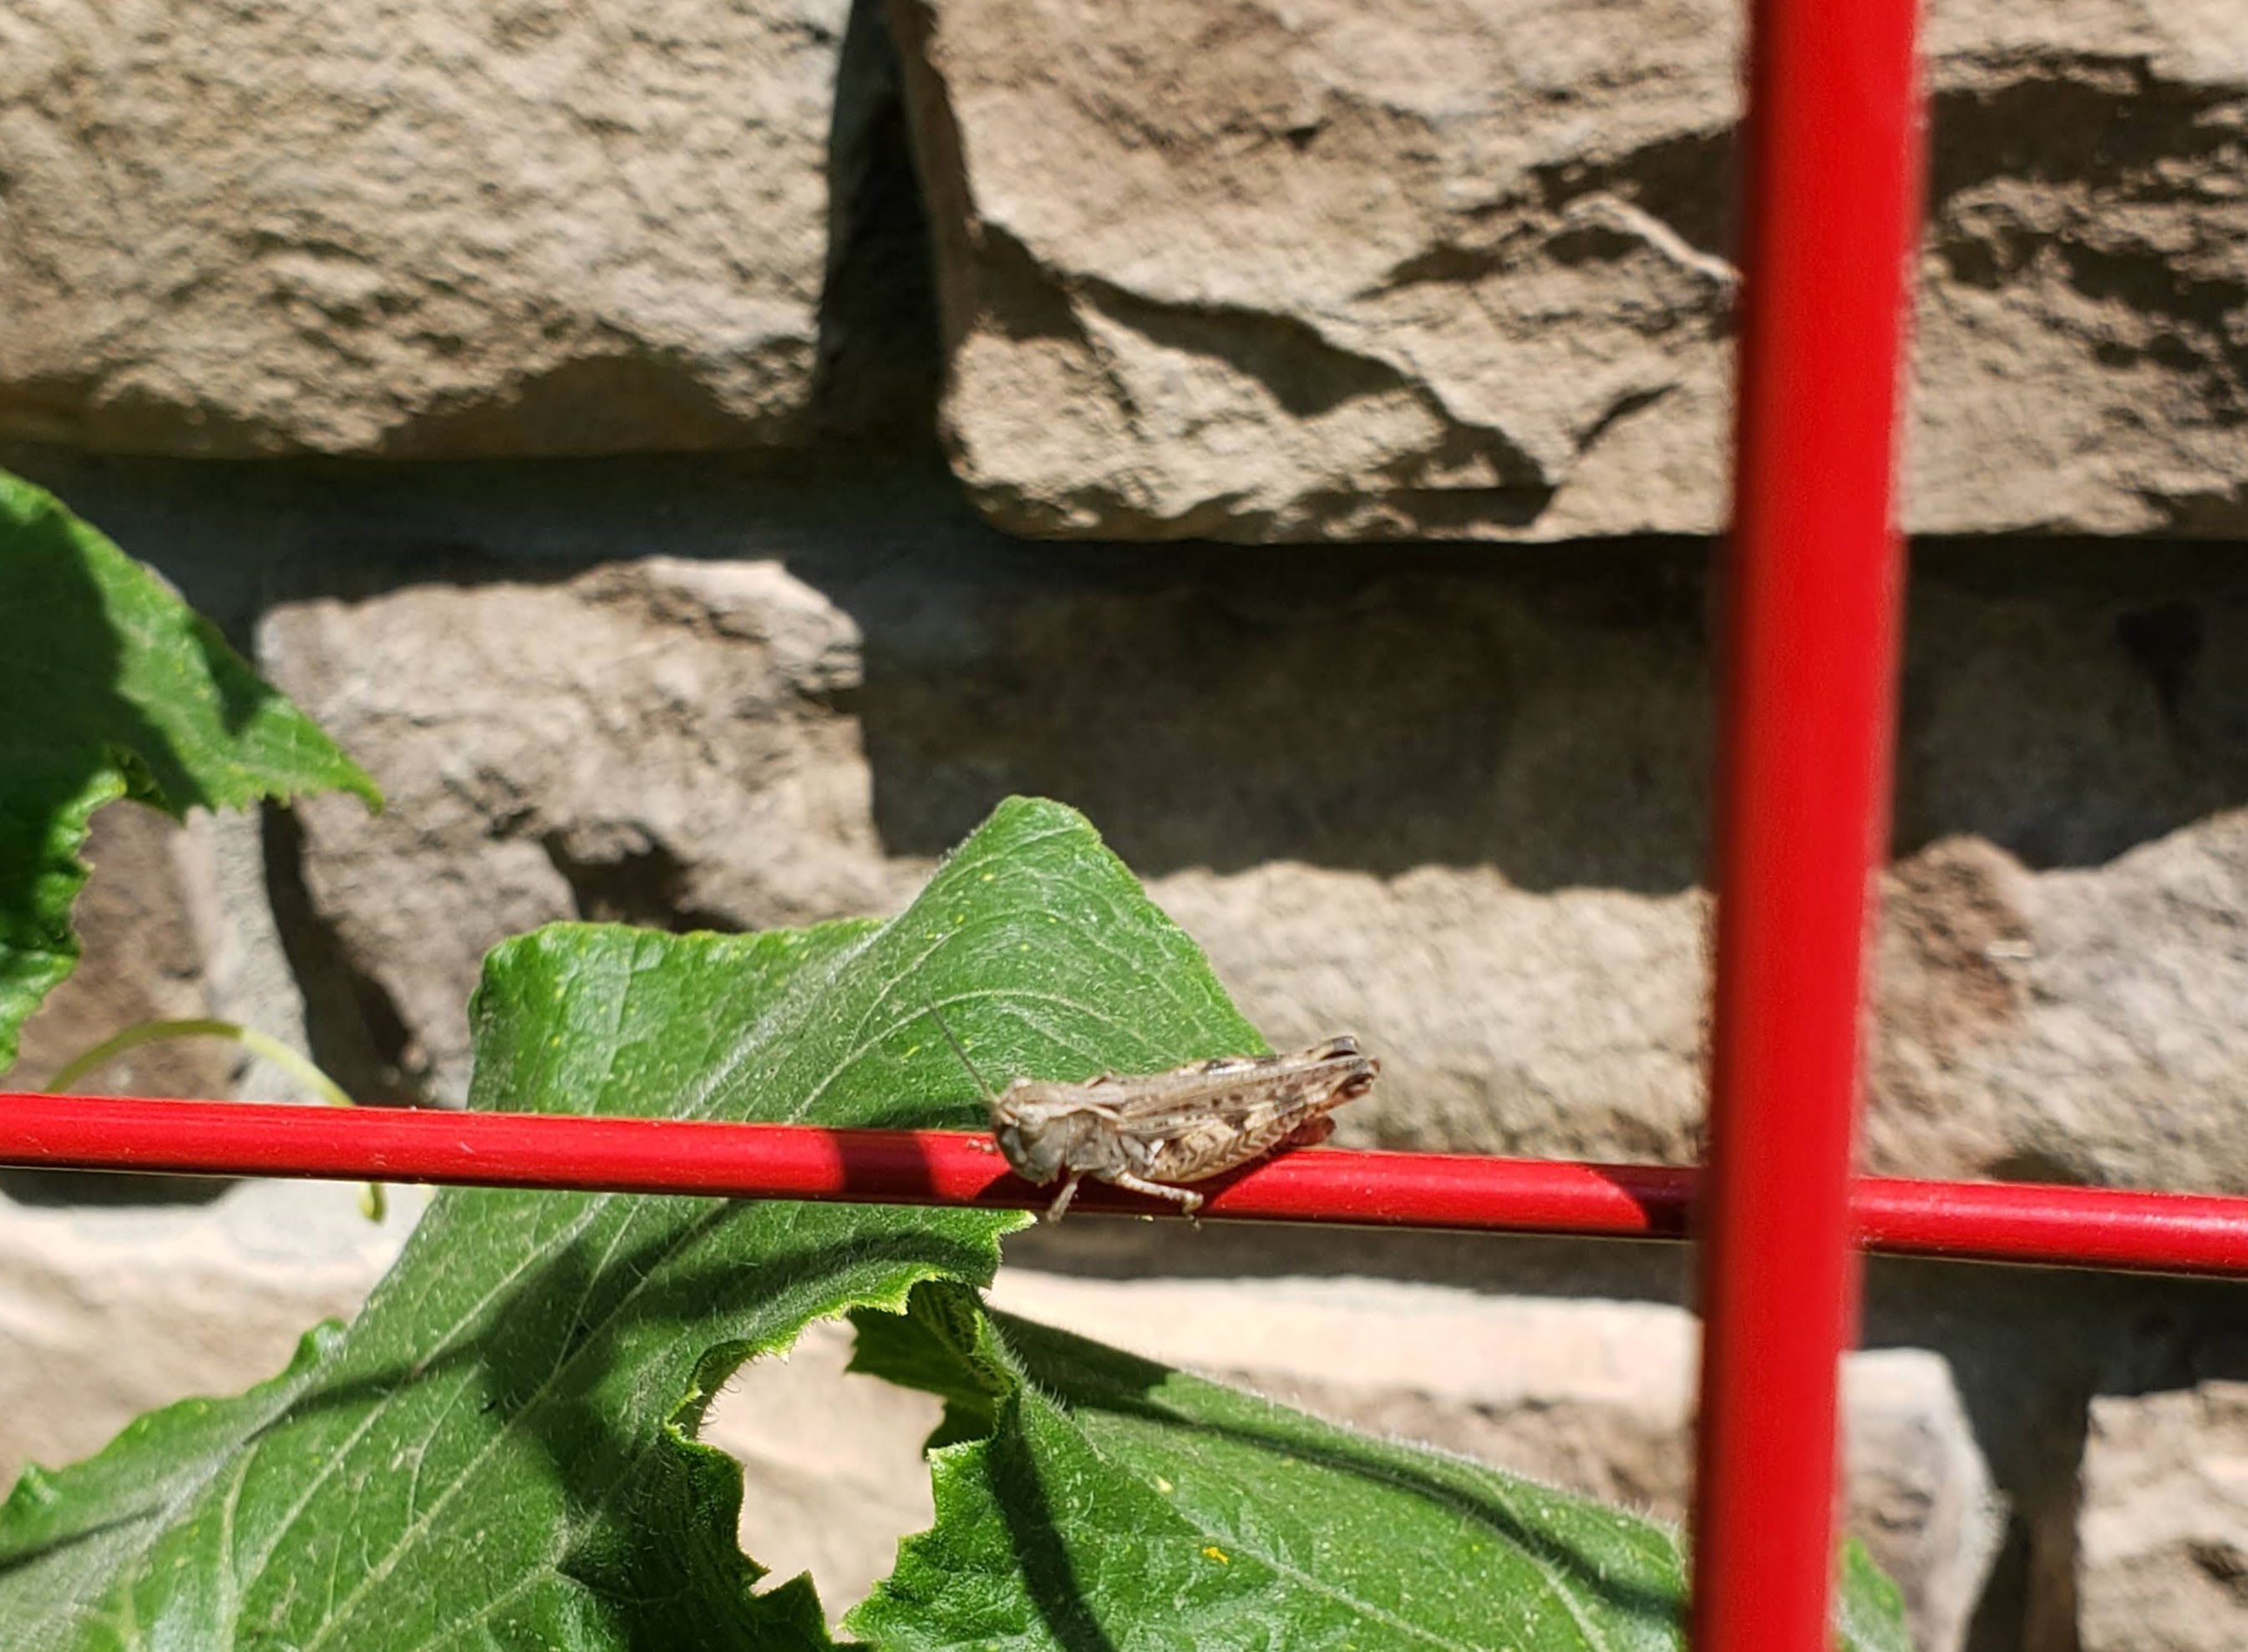
Bloody Wanker 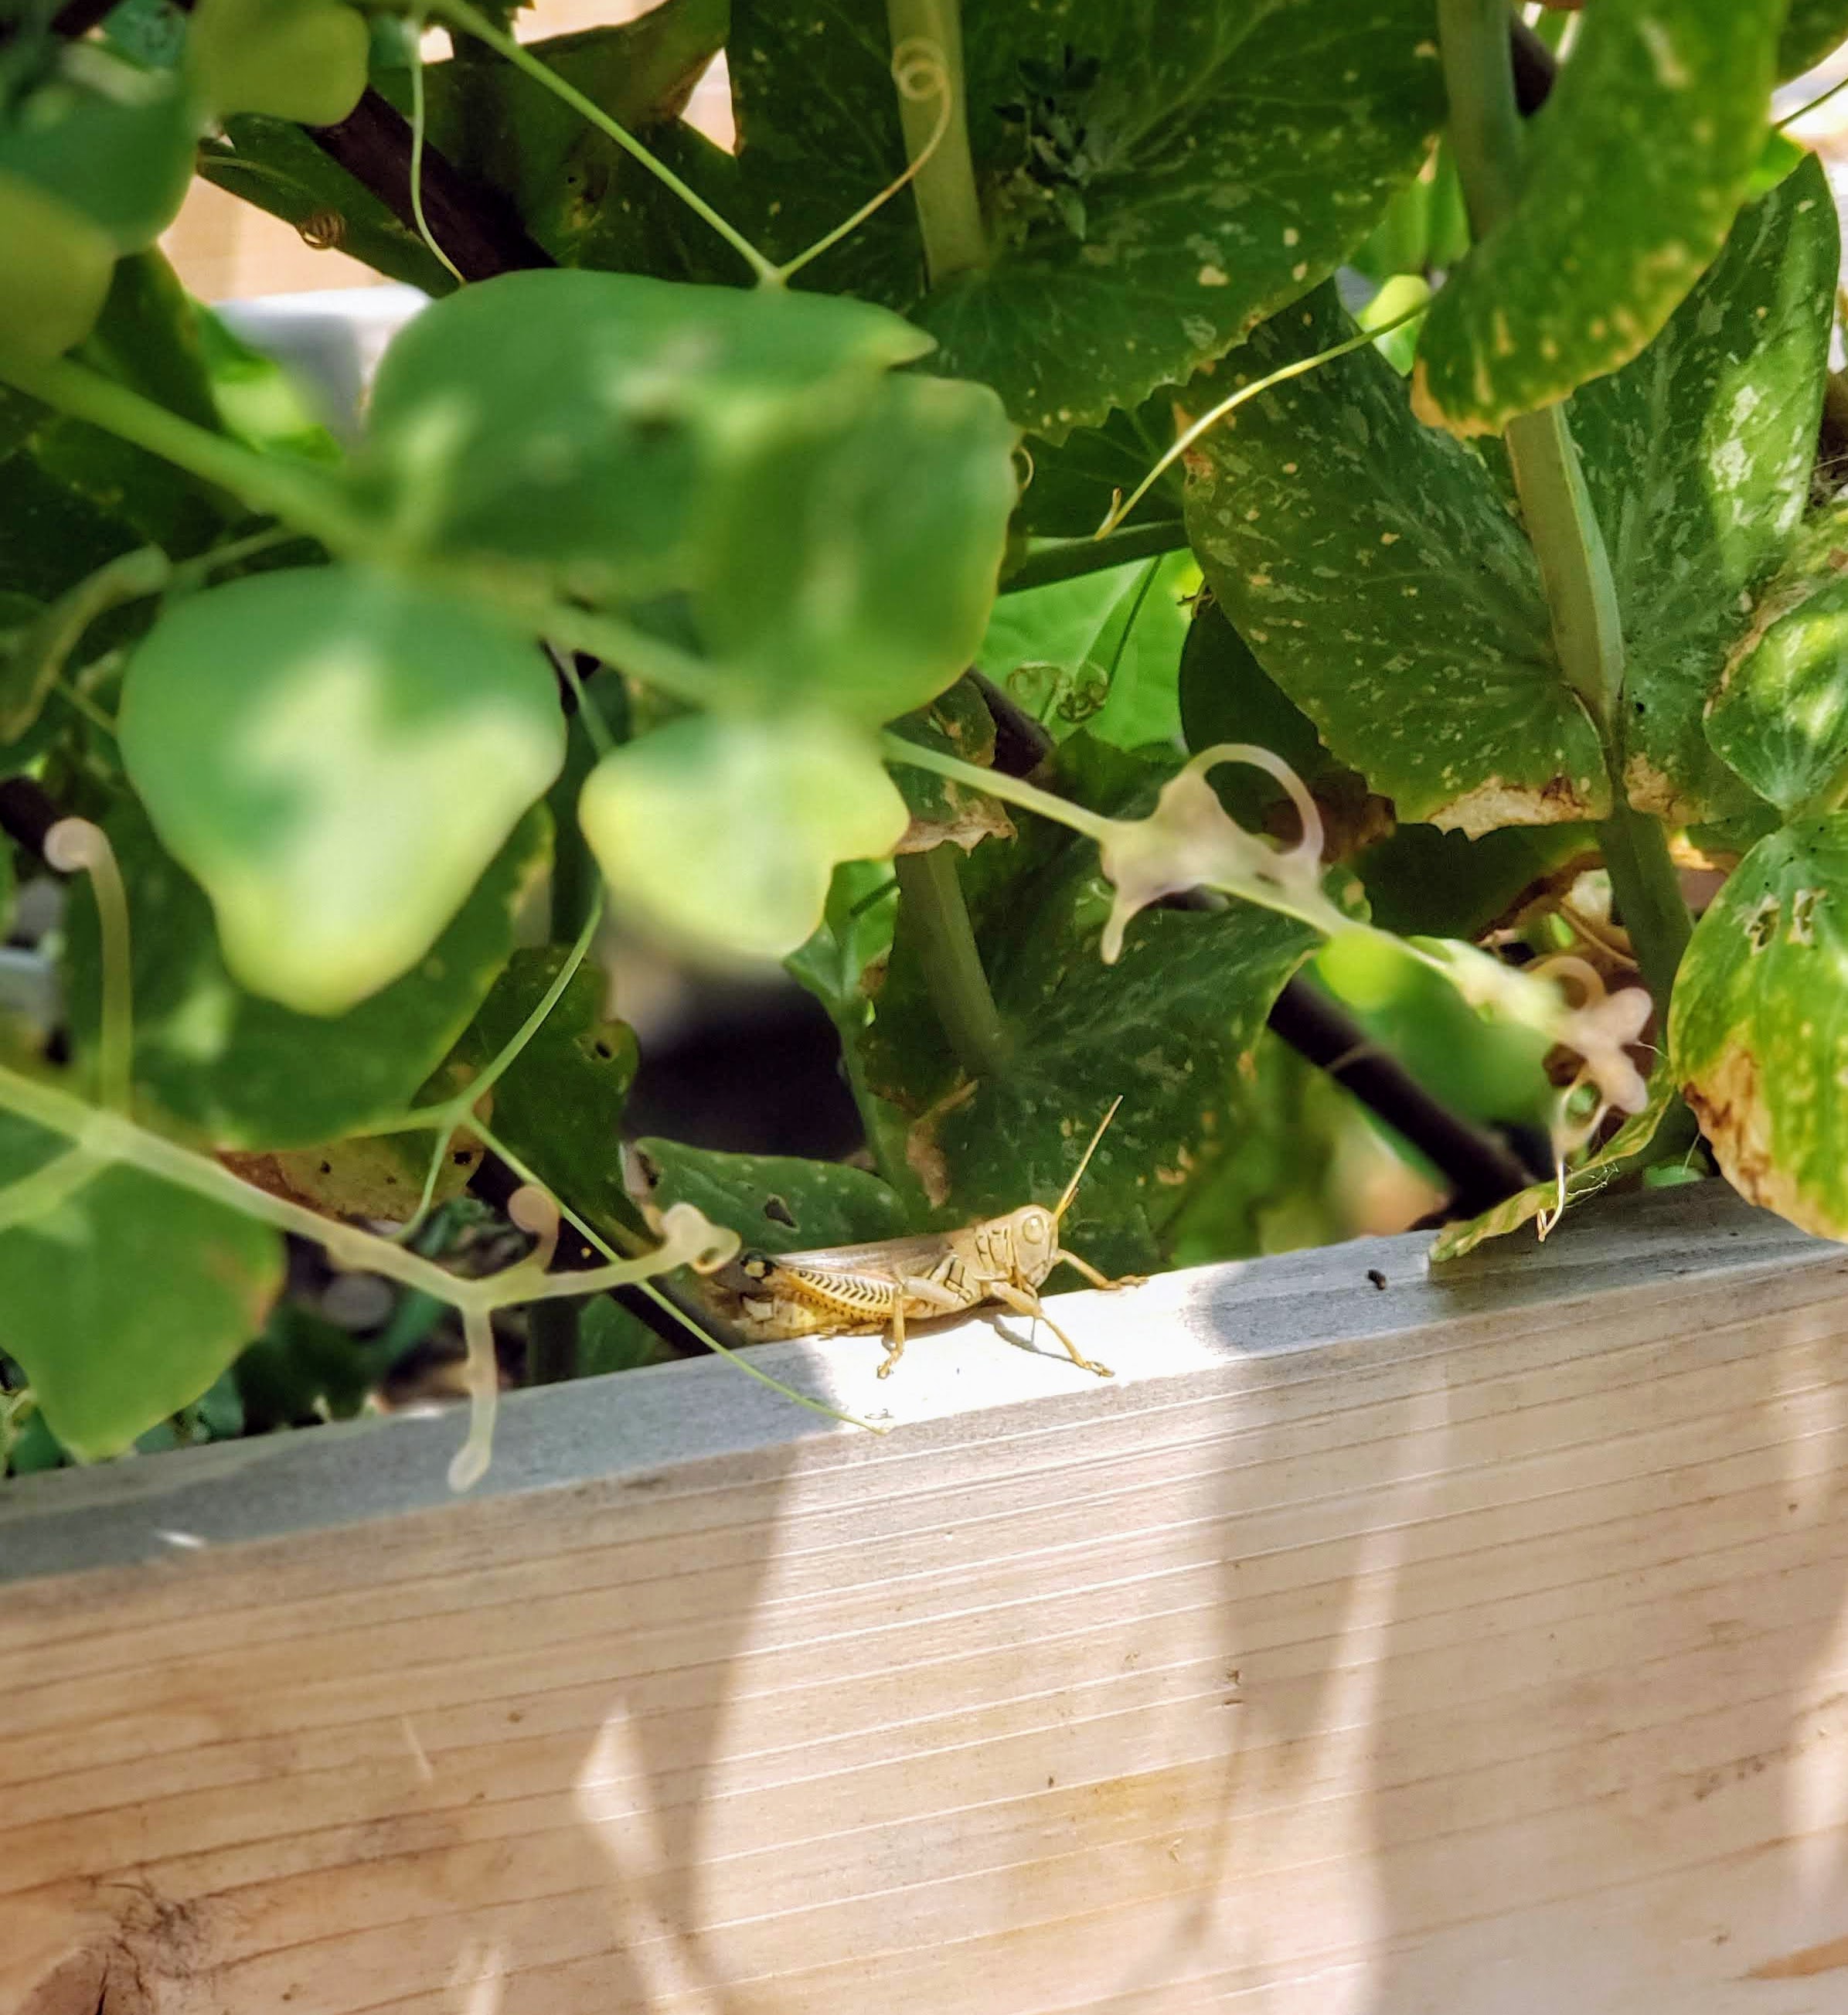
Shithead
This year there must have been a nest or something nearby because at the beginning of June I had a zillion little baby grasshoppers all over the garden! If they weren’t so destructive, they’d be super-duper adorable! My youngest daughter is a budding entomologist and just fell in love with the tiny twats. But fortunately for all involved, these veggie-mowing baby bastards seem to have cleared out, and the pics above are about all I’ve seen of them lately.
Last summer, I had grasshoppers everywhere in the garden, but I had so many other issues there that I never did any research how to get rid of them. This year’s early summer grasshopper nursery seems to have graduated on to greener pastures, because now I’m only seeing one or two of them around the plants, and am not seeing much, if any, actual grasshopper damage anywhere in the garden.
I’ve been lucky this year with the grasshoppers, but if you’re interested – and for my own future reference – I’ve read that grasshoppers are averse to garlic and spicy peppers. A quick Google search shows a gazillion recommendations for DIY sprays to deter the bouncing bastards. It also seems reasonable that there are chemical solutions to this problem, but I haven’t looked into that so far. [<—–Omigosh, somebody please LOL at my pun there. Or is that a double entendre? Whatever, do you get it? Chemical solutions? Homogenous mixture of a solute and solvent? But solutions are also how you solve a problem, see? Ha! I kill me!]